Modern Pineapple

Celebrating, Entertaining and Living Well

  • About
  • Decor
    • DIY
    • Organize
  • Entertain
    • Guests
    • Holidays
    • Parties
  • Food
  • Travel
    • London

February 27, 2016

Baking Banana Bread

Kristen Moore Banana Bread

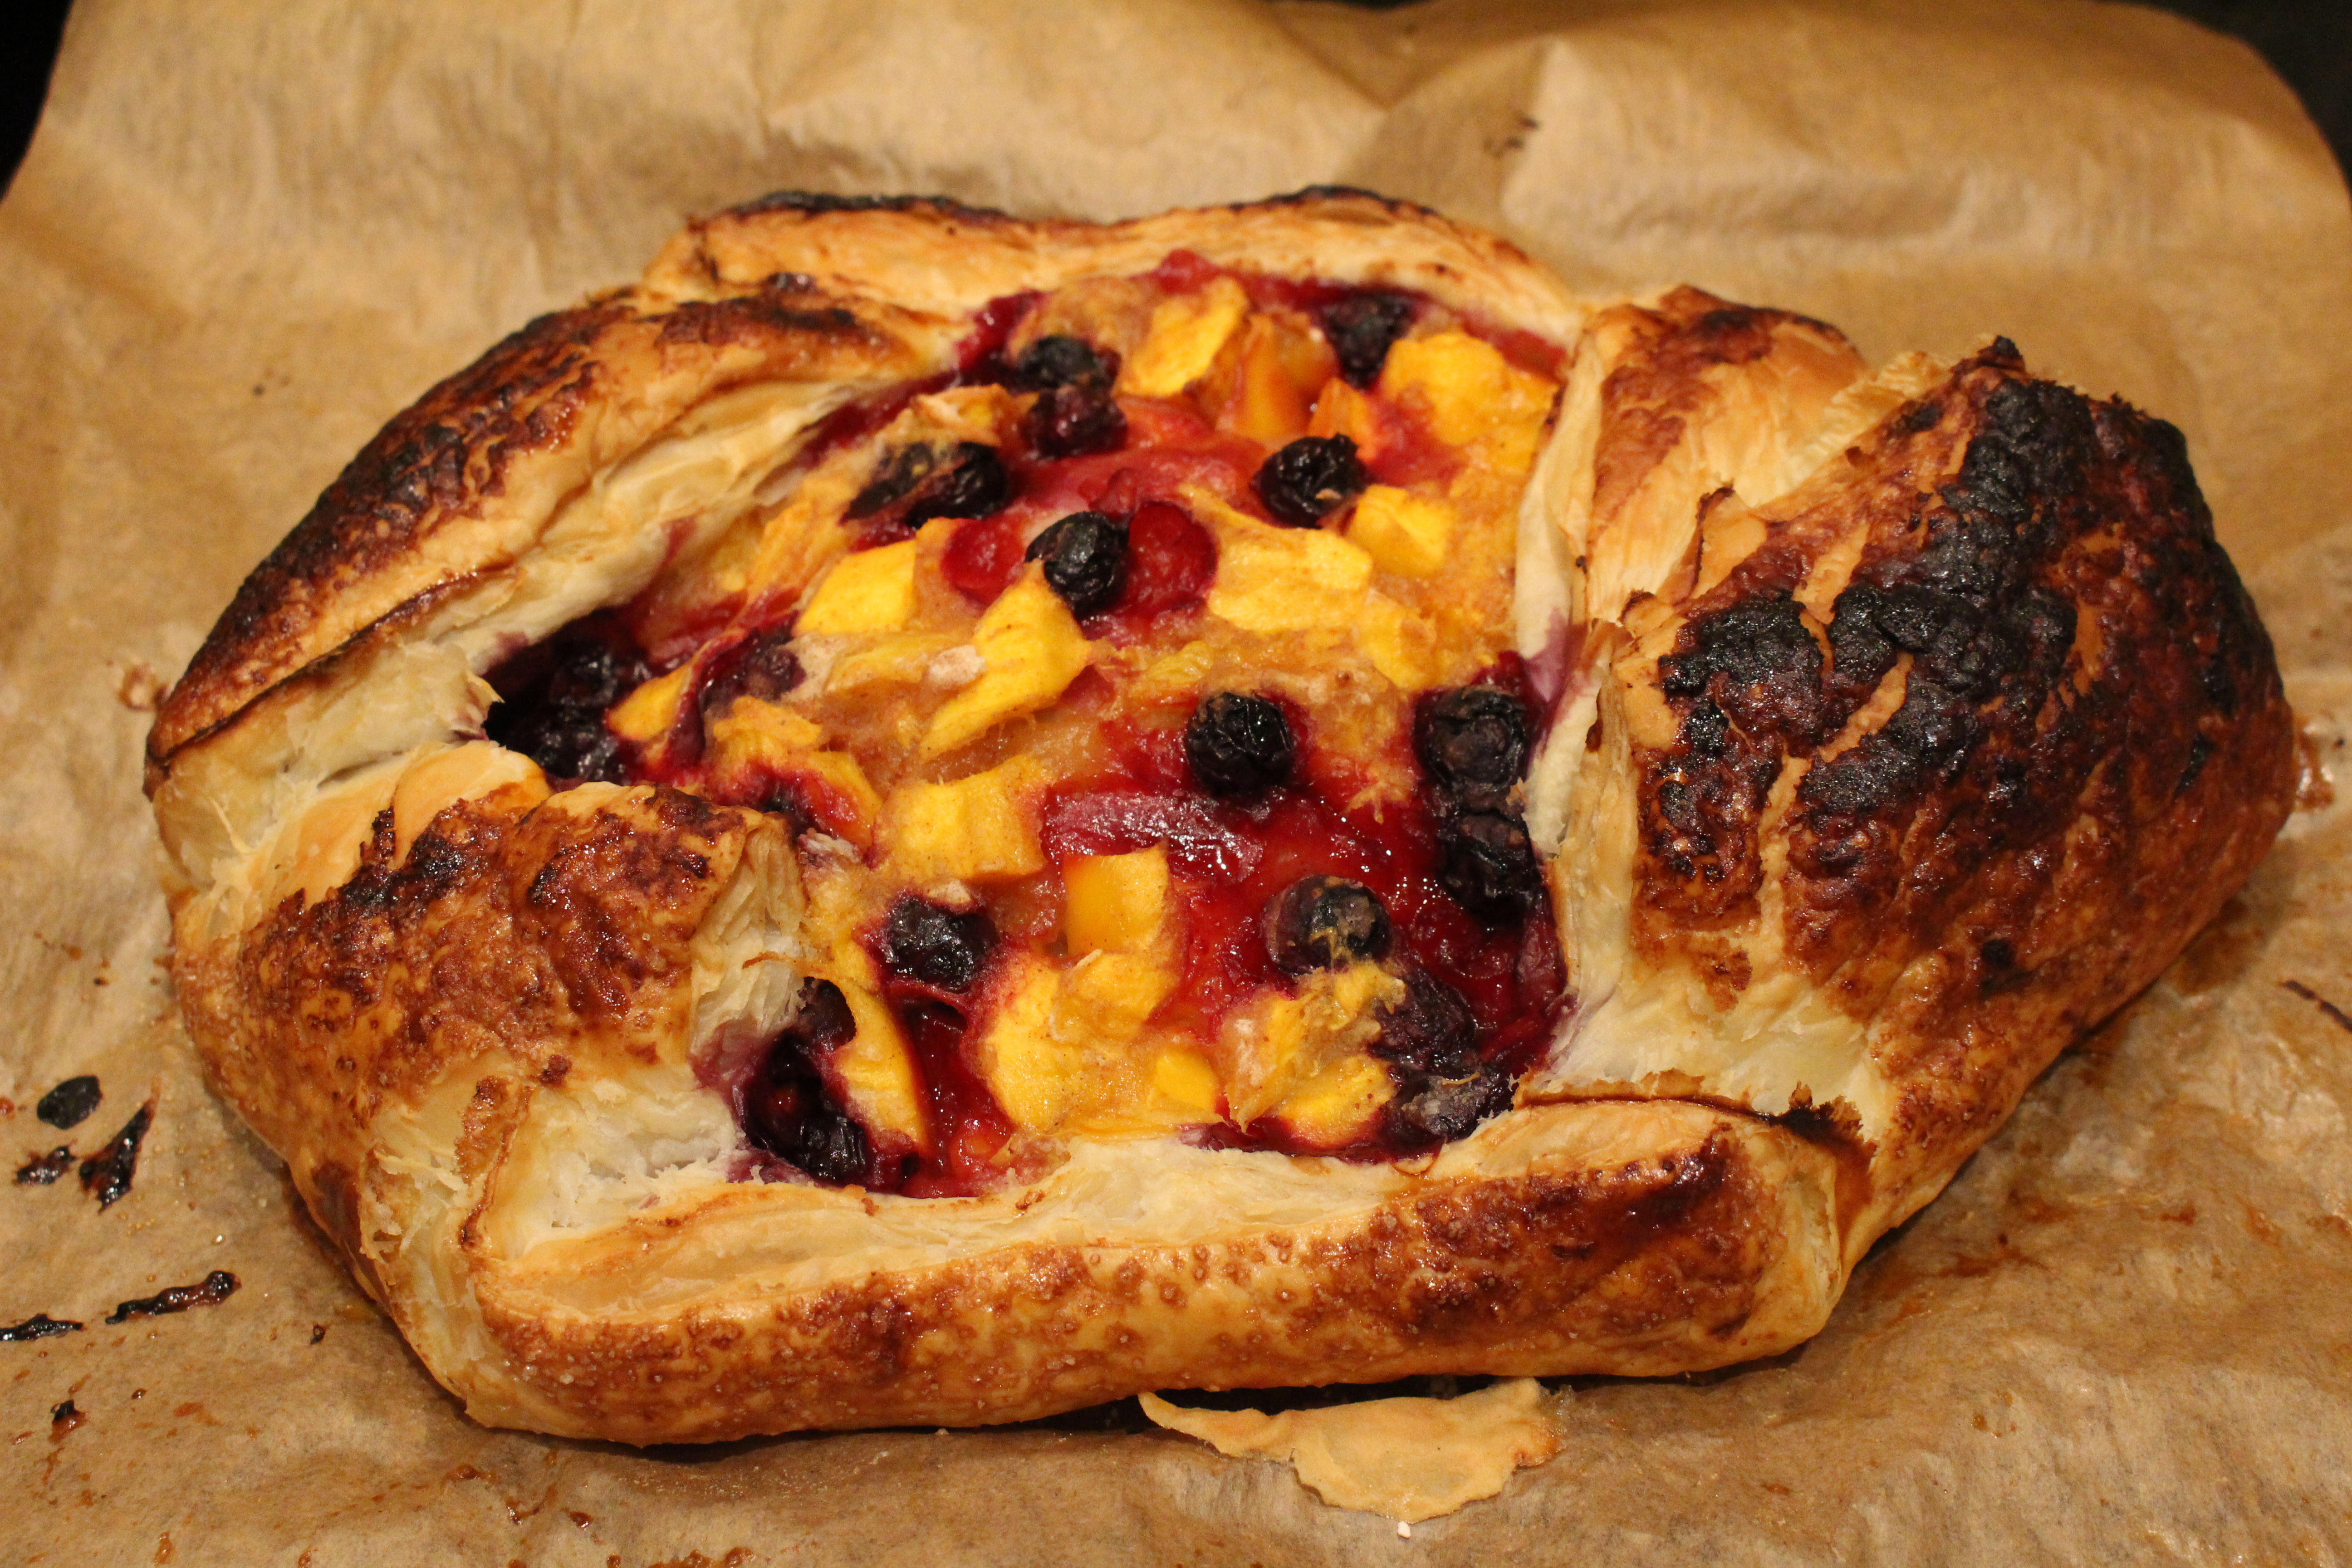
Each week, I secretly hope we’ll have enough bananas left over to make one of my favorite foods: banana bread. And each week Ben eats them, taking one with him to work each morning. Finally after far too many weekends of being disappointed, I’ve altered my strategy. I bought a larger bunch than usual last weekend, knowing full well we couldn’t consume them all before browning. Yesterday, I walked in the door from running errands to Ben calling out from the kitchen, “Hey, welcome home. How is it outside? Oh, I’m going to toss these bananas.” I screeched and ran into the kitchen, bags in hand, to check they hadn’t already met their demise. Relieved they were still in the bowl, I looked at a bewildered Ben and said: “Don’t touch. I’m making banana bread tomorrow.”

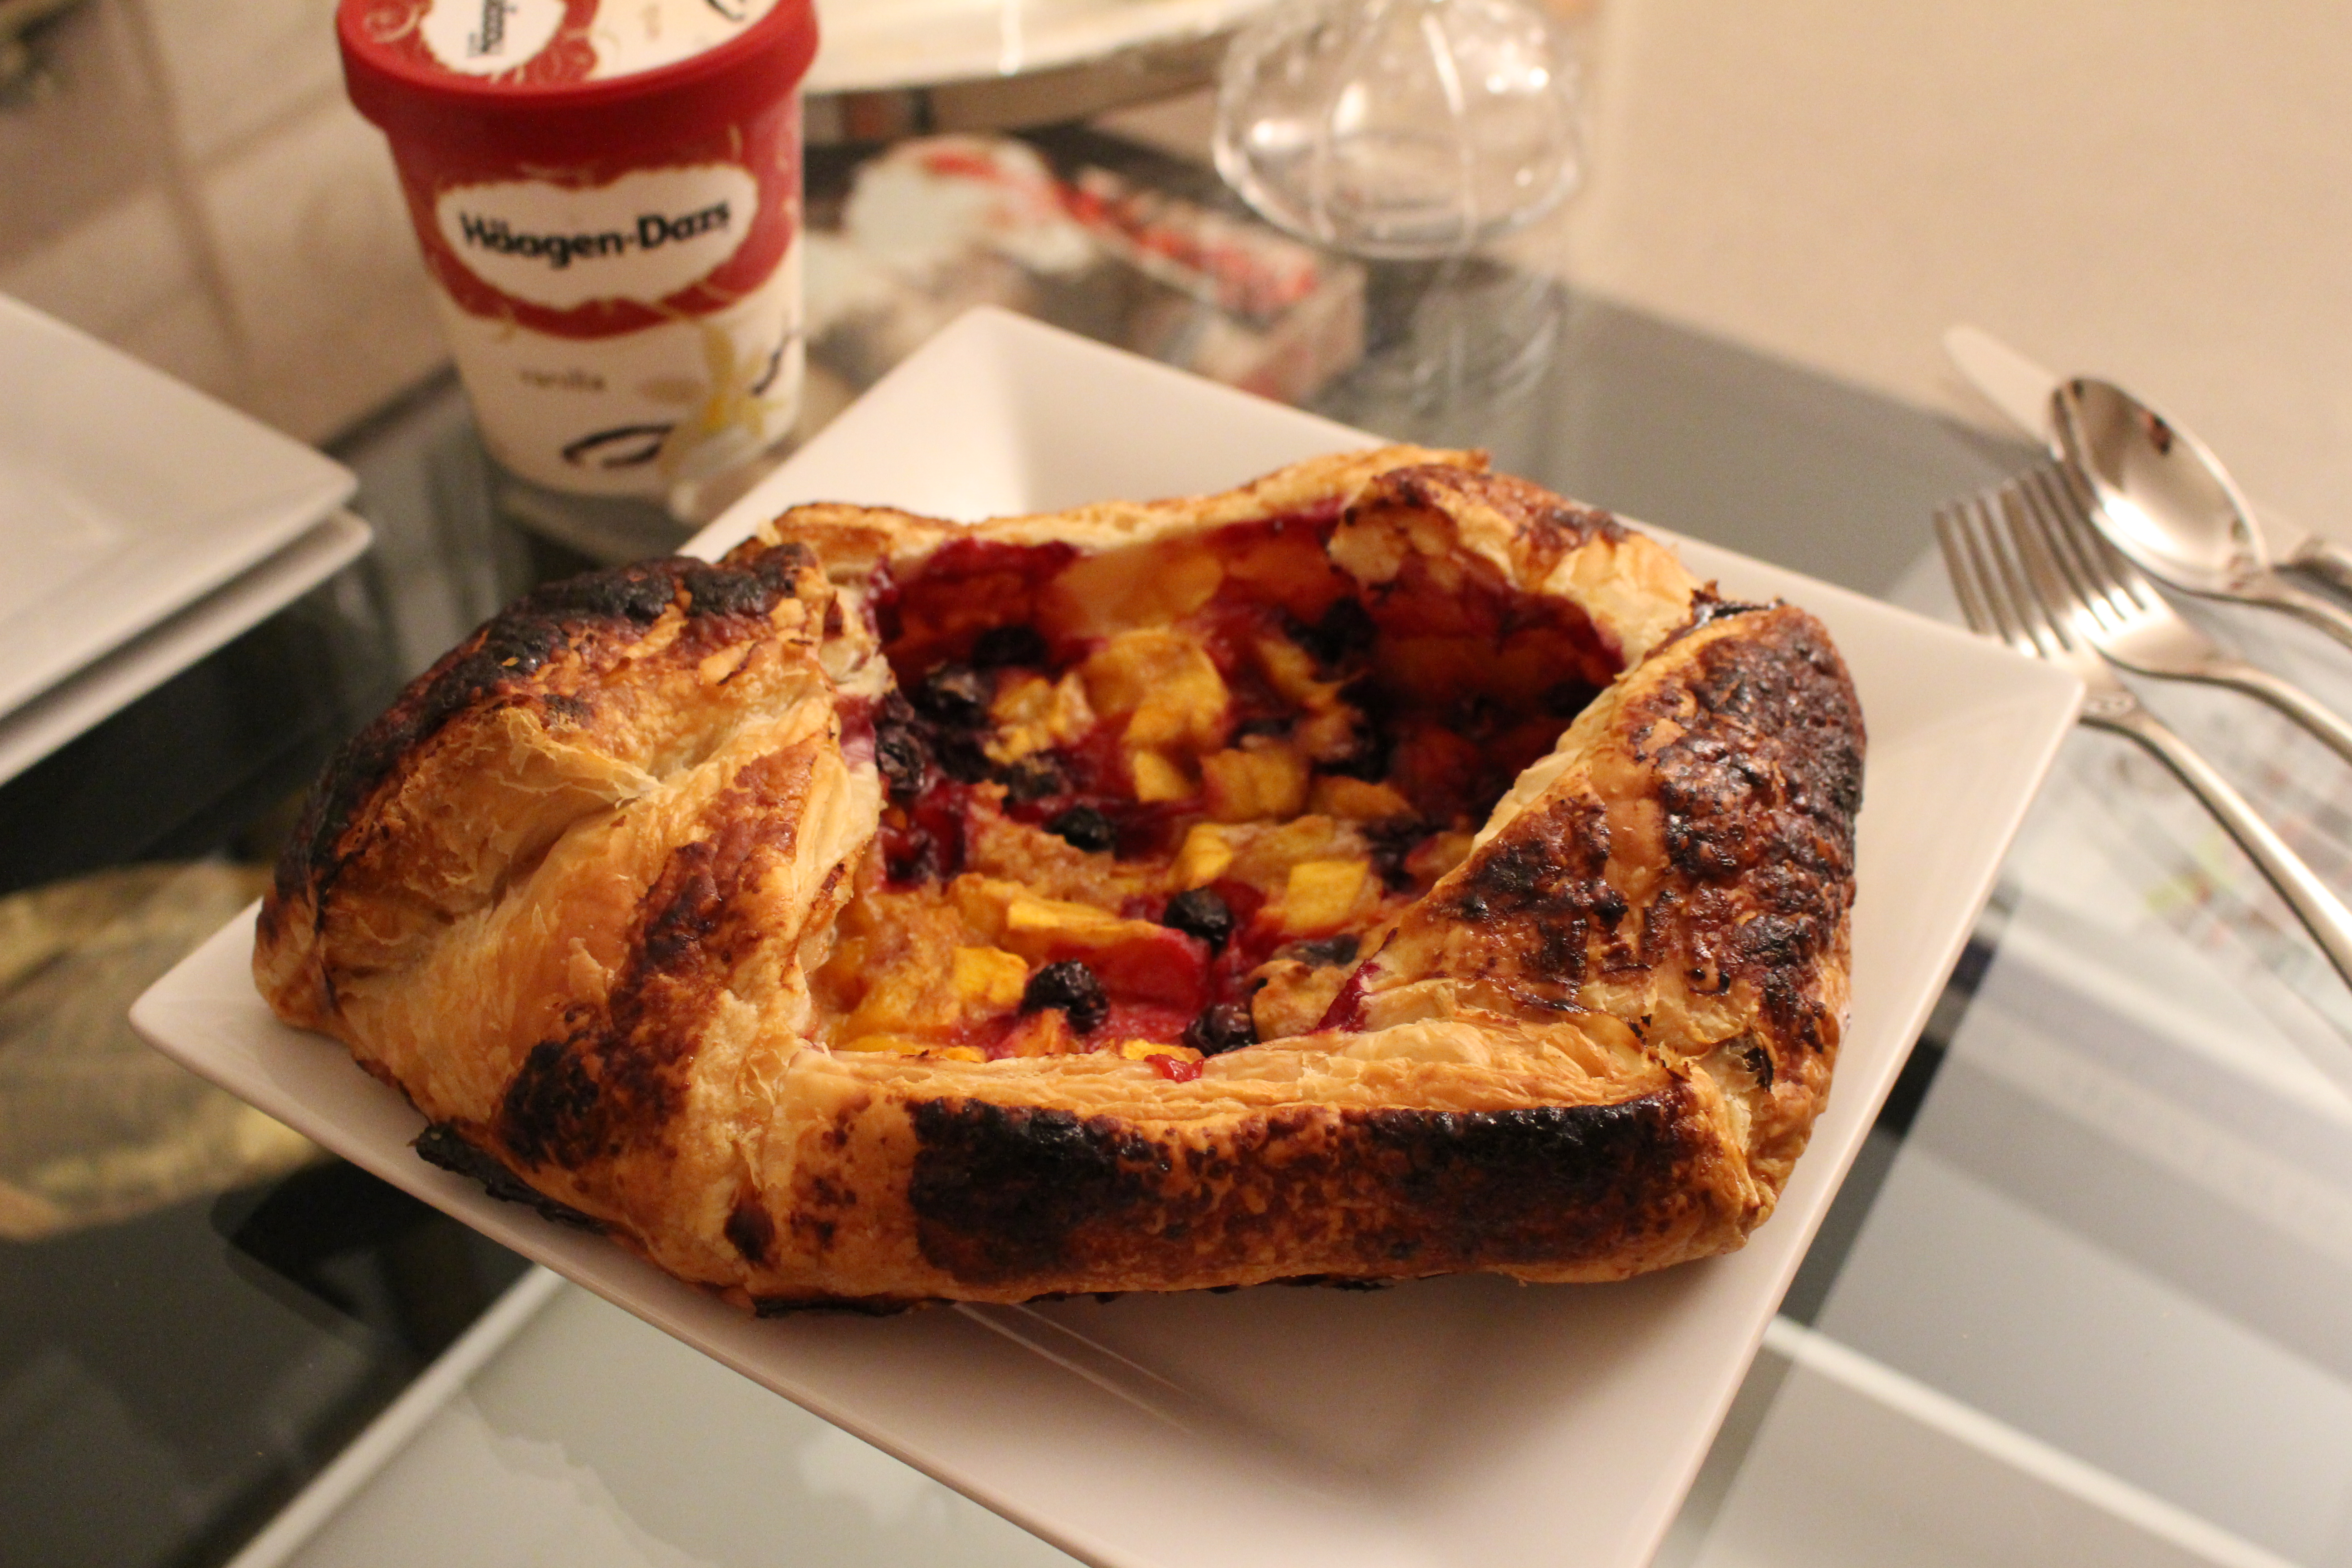
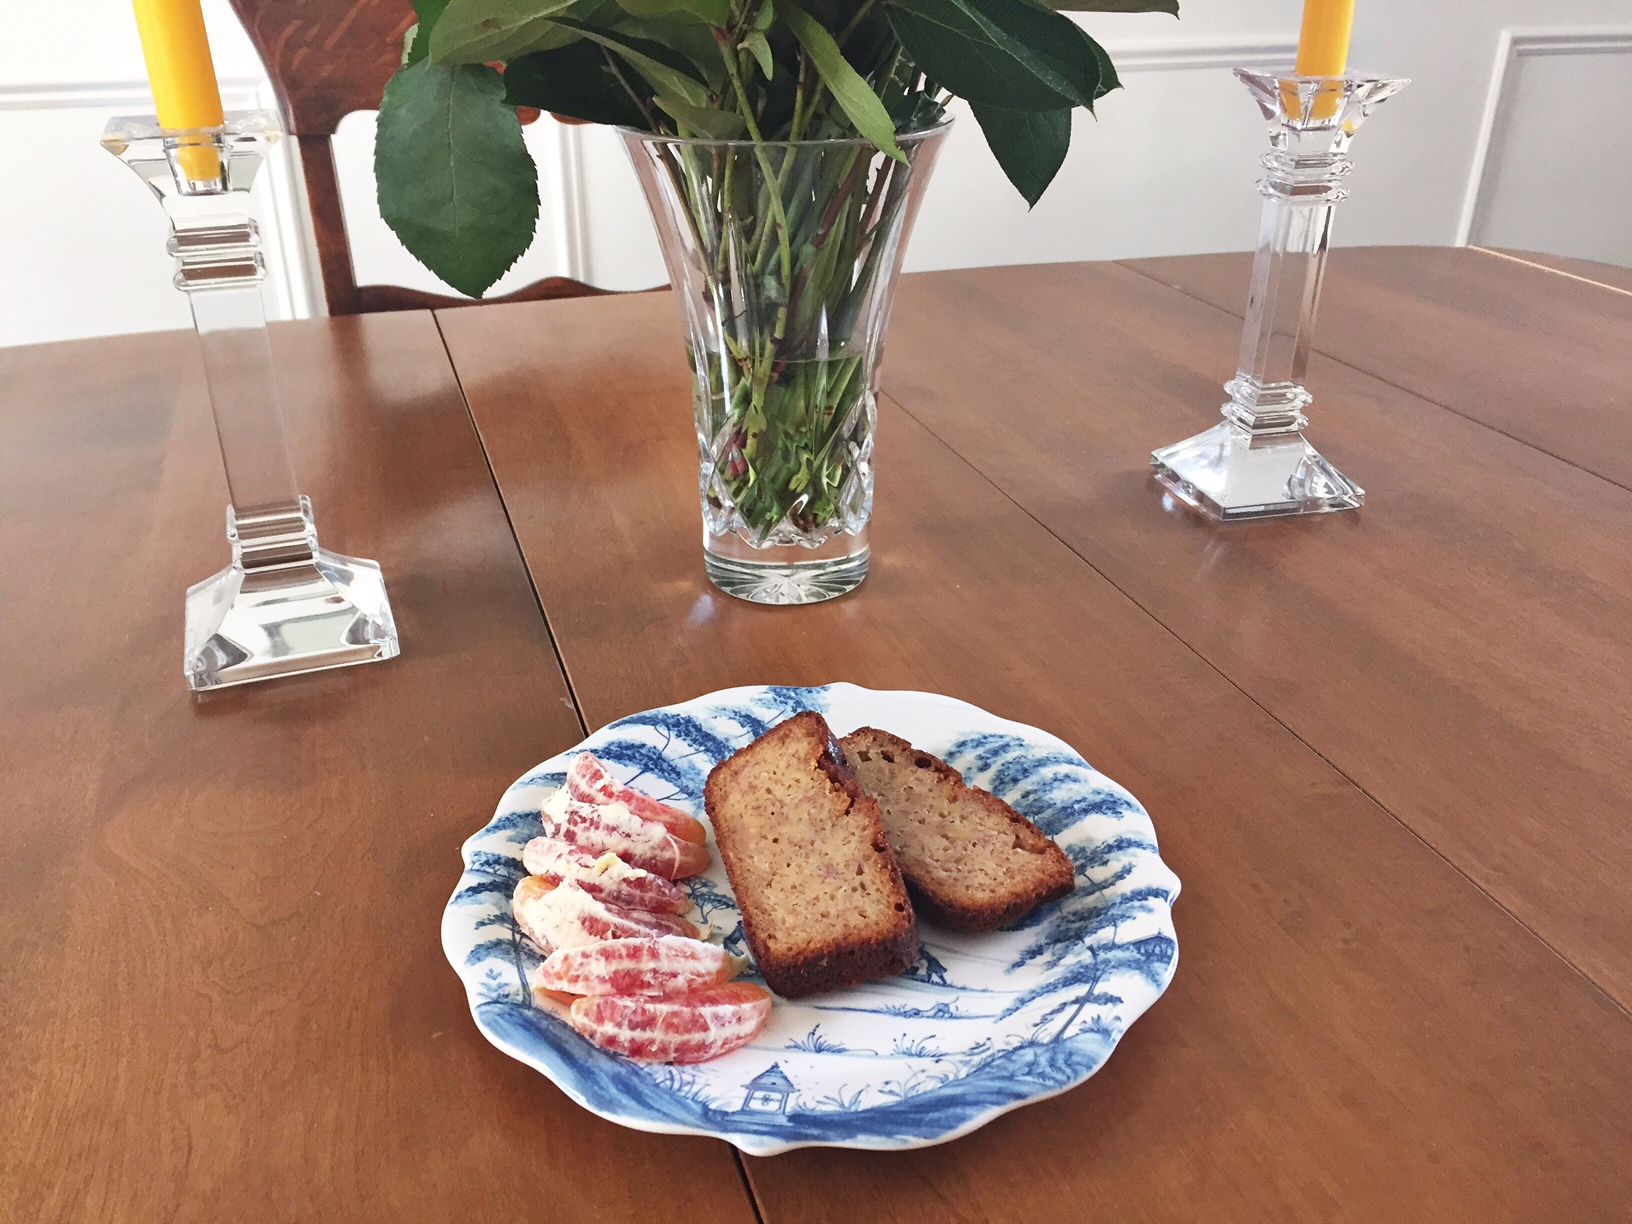
Fast forward 24 hours later and we have the loveliest loaf of bread. The entire flat smells heavenly, like I baked for hours but really only spent 20 minutes putting together the batter. The recipe I use is from The Joy of Cooking, which has been in the book since 1946:

Preheat the oven to 176C/350F. Whisk together a cup and a half of flour, a teaspoon and a half of baking powder and a pinch of salt. In the mixer combine two-thirds cup of sugar, five tablespoons of butter and a dash of lemon zest. Add in two beaten medium eggs and three mashed bananas, mix well. Add in the dry ingredients and pour into a greased loaf pan. Bake for about an hour to 90 minutes, whenever the testing fork comes out clean.

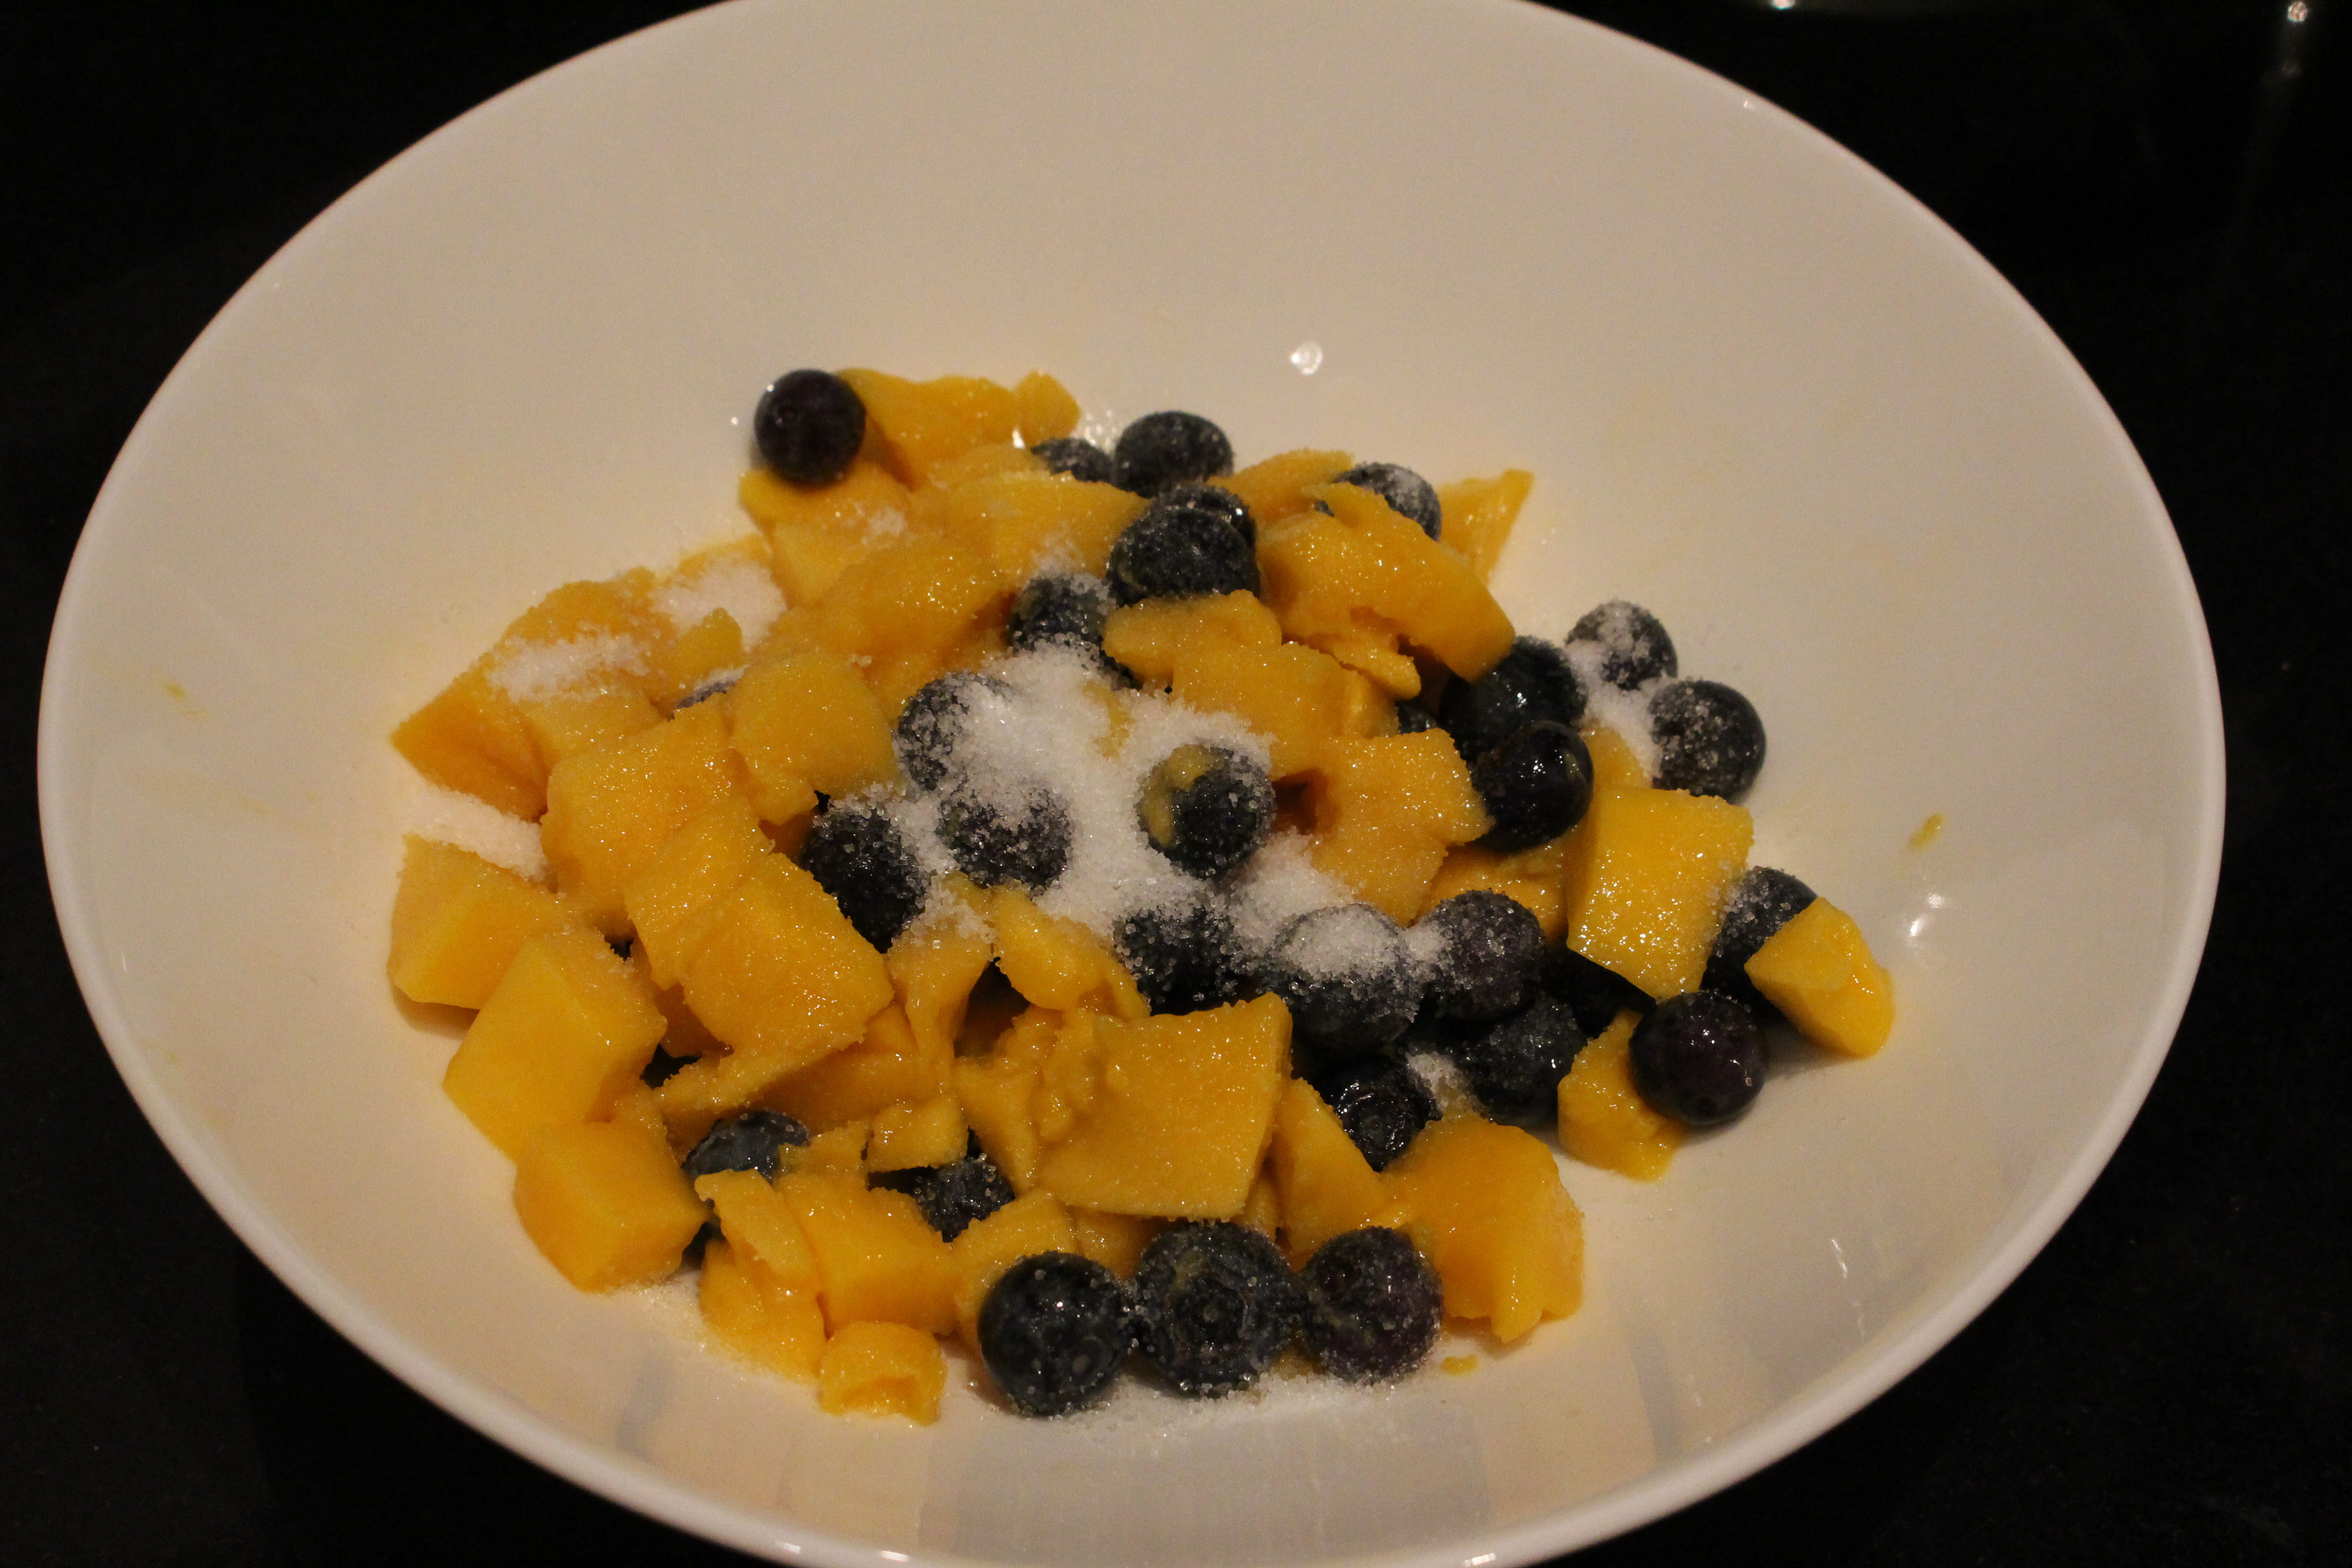
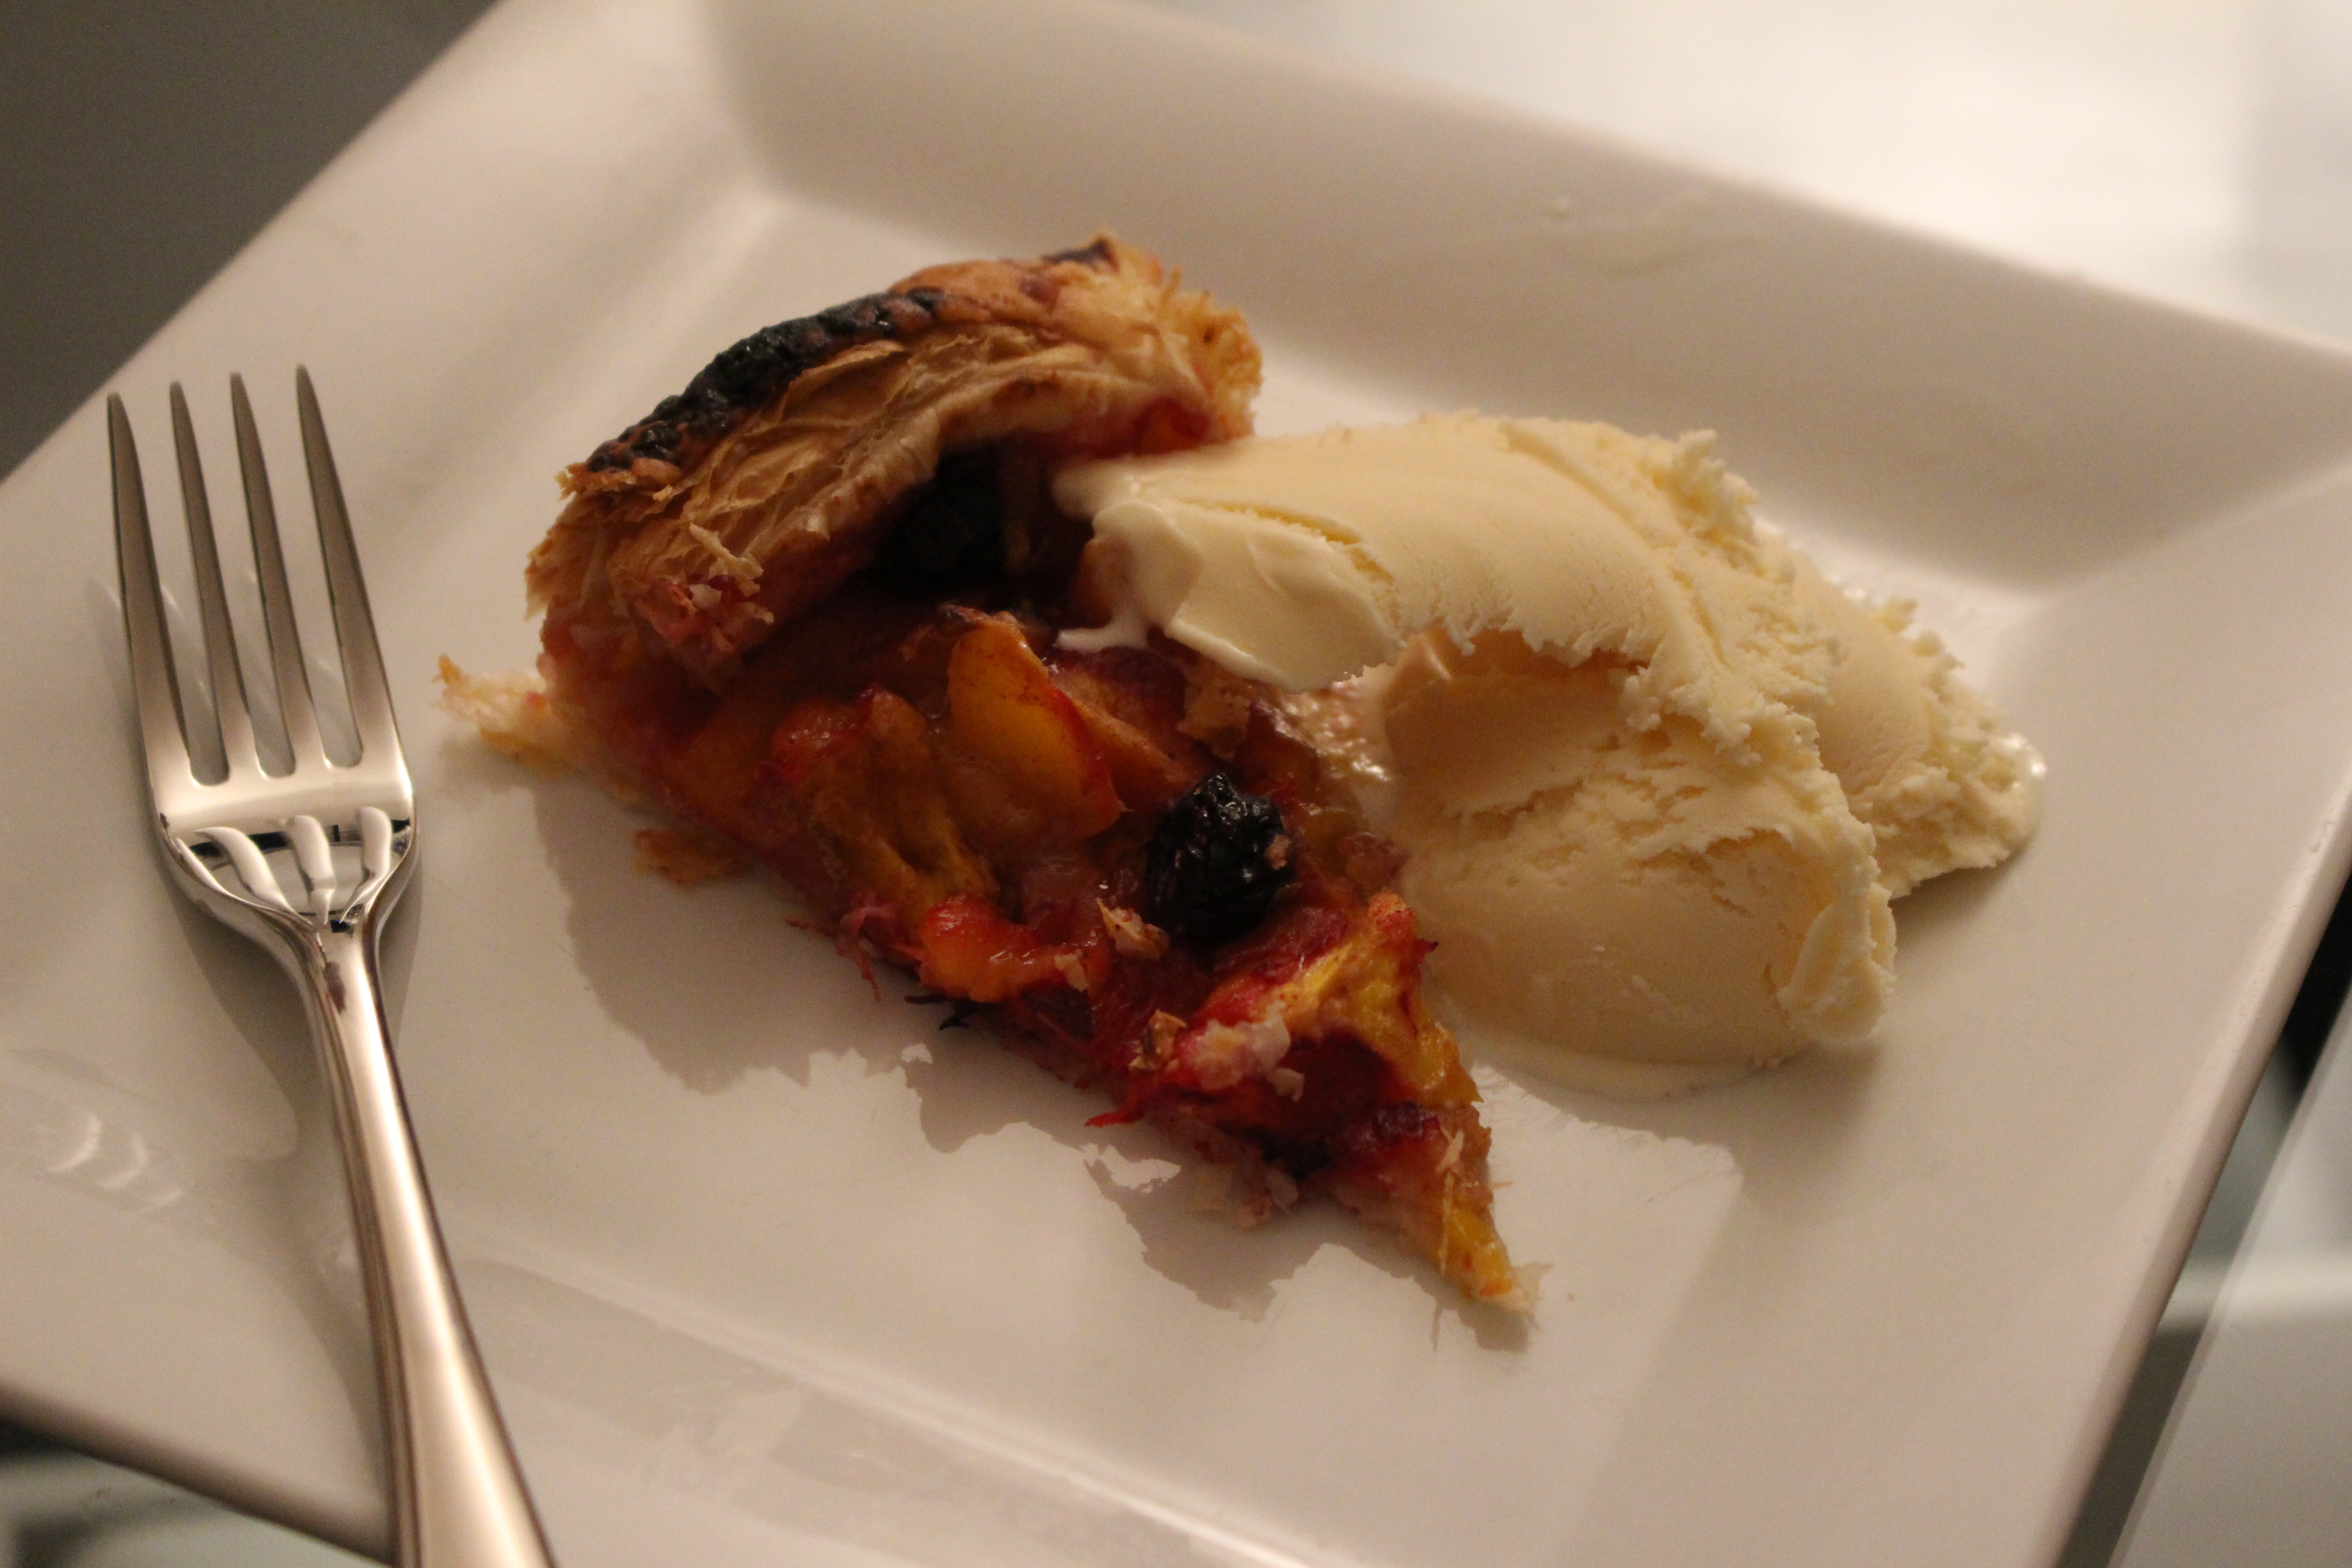
Serve warm and with blood red oranges. x


FacebookTwitterPinterestGoogle Gmail

Posted by Kristen Leave a Comment
Filed Under: Recipes

August 27, 2015

Almost Autumn Supper Time

The final days of August have been chillier than expected, and catapulted me into a preview of the fall to come. I know should be holding onto the final days of summer, but with no official end to summer a la Labor Day weekend here and an Indian Summer looking like a distant US memory, I’m ready to pull out the cashmere blankets, red wine and snuggle by the fire. My husband is shushing me with every chance he gets when I become giddy with excitement over that autumn smell in the air.

Last night I made the best dish to marry this seasonal dichotomy: freshly-spiralized zoodles with the most delicious ragu (that uses red wine! I’m all for any use of wine in sauces) from Hemsley + Hemsley. Though I’m about two years late to the game on this one, I just became the proud new owner of a spiralizer over the weekend – thank you, Mom! If you know me, I’m not into many extra gadgets in the kitchen. I believe many can actually complicate the process, and much can be done with quality knives, a dutch oven, good cutting boards and a solid set of stainless steel pans. (I also don’t consider our KitchenAid mixer an extra gadget – these are kitchen necessities. We recently also purchased a small food processor for making fresh hummus and sauces and I also might give my left arm for a Vitamix. But compared to all the gadgets available to purchase, I’d say we’re on the small side in the Moore household.) HOWEVER, this has been on my radar for a long time and I’m so glad to have finally joined the spiralizing world. 

Kristen Moore Spiralizer

The recipe can be found here. It’s not much work, but it does take awhile for the sauce to thicken. To break the recipe up a little since time after work is limited these days, I browned the beef on Monday night, and then just warmed it up in the pan before bringing it to a boil with the wine and tomatoes. Ben kept walking past the kitchen and I’d catch him stealing little spoonfuls! We both were eager to see how it would taste and we were up for seconds in what felt like mere minutes after having our first bite. I’d say that’s a success! 

Kristen Moore Sauce

For those in the UK, I recommend the Hemsley + Hemsley spiralizer. Mine was purchased at Selfridges – it’s also available from other retailers like Amazon. In the US, there are so many version, so just head to your nearest kitchen wares store to pick one up!

Kristen Moore Courgetti

Fresh summer vegetables + hot beef ragu – the perfect cool evening combination x

FacebookTwitterPinterestGoogle Gmail

Posted by Kristen Leave a Comment
Filed Under: Recipes Tagged: Cooking, Dinner, Spiralizer, Tomato Sauce

April 27, 2015

Spring Rhubarb Scones

Kristen's Rhubarb Scones

Scones are wonderfully delicious and delightfully British treats. Served during proper tea, they come with clotted cream and a variety of jams. Usually though, by the time scones come around during tea I’m feeling full from the smoked salmon sandwiches and pastries so I often just have a bite or two before raising a white flag. Must. get. better. I’d been searching for ways to use the rhubarb I’d recently picked up at Whole Foods (you can find them in practically every grocery store and market this time of year), and realized they would be superb in scones. The tartness from the rhubarb mixed with the slight sugary sweet topping made our breakfast table (yes, breakfast for us! we couldn’t wait) that much more special this weekend. These are great to share too, as it does make about 10 scones. I wrapped some up in clear cellophane and tied it with a spring green velvet ribbon for two of our favorite London friends — a pretty package and a preview of what’s to come!

Kristen’s Rhubarb Scones

3 stalks of fresh rhubarb, trimmed and sliced into quarter-inch pieces
1/2 cup sugar
2 1/2 cups flour
1 tbsp baking powder
1/2 tsp salt
115 grams unsalted butter
1 tsp vanilla extract
3/4 cup heavy cream

To make the scones, preheat your oven to 218C/425F. Using parchment paper, line a baking sheet completely, folding any edges to make sure it fits. (You won’t need to use any nonstick spray this way.) In a medium-sized bowl, toss your chopped rhubarb with about 3 tablespoons of sugar. Sift together the flour, 1/4 cup of sugar, baking powder and salt in a large mixing bowl. Once sifted, add in the butter and cut with a pastry blender. The butter should be in small pieces (about the size of peas) that are easy to mix together and soft. Add in the rhubarb, vanilla and cream. Add paddle attachment to the KitchenAid mixer (or you can use a spatula) and mix together on medium to create the dough.

Add a bit of flour to your hands and surface so the dough is easy to handle. Using your hands knead it together till it’s a giant ball. Transfer the dough to the surface, pat it down to a oval or rectangle about a half inch in thickness. Cut the dough with a knife into about 10 even pieces. Arrange onto the cookie sheet, top each scone with the remaining sugar and bake for about 20 minutes. Enjoy! x

MP Rhubarb

FacebookTwitterPinterestGoogle Gmail

Posted by Kristen Leave a Comment
Filed Under: Gifts, Recipes Tagged: Breakfast Treats, Scones

April 15, 2015

Tzatziki for Two

Modern Pineapple Tzatziki

If I had to name my favorite cuisine, it might be Greek. Really. It would even possibly edge out Mexican, which is saying a lot. I love the bright flavors, fresh ingredients and overwhelming sense of family I get when I dip into a bite — but maybe that’s my love of My Big Fat Greek Wedding talking (the dad in that movie is classic). The craving for Greek food hit me when I realized it was Xristos Anesti last weekend (a holiday I always remember thanks to my favorite Greek and college roommate Alexandra Sarris) coupled with the warm weather.

I mentioned it in a post earlier this week, but we dipped into said Greek fare last Friday. It was the first time I tried my hand at tzatziki, but it’s always the first thing I order when we go down the street to Mazi. I found a recipe in one of my very favorite wedding presents: Two in the Kitchen cookbook from Williams-Sonoma.* It was so easy that I almost got mad I haven’t been making it all these years, but it was too good to be upset. Side note: the recipe made quite a bit more than the two of us could handle on our own, or that we felt friends at a party would eat. I’ve halved the recipe here for you to enjoy — perfect for summer nights with crudites or small crackers.

Summer Snacks: Perfect Tzatziki for Two

  • 1/2 cucumber, halved and seeded
  • 1/2 lemon
  • 250 g Greek yogurt (1 cup)
  • 1 Tbsp minced fresh dill
  • 1 Tbsp minced fresh mint
  • Sea salt and freshly ground pepper

Using a box grater, coarsely shred the cucumber into a fine-mesh sieve. Let the water from the cucumber drain for about 10 minutes in the sink. Squeeze the cucumber to remove any remaining moisture. Halve a lemon, and grate one half into a bowl. Then squeeze the juice of the lemon into the bowl. Stir in the shredded cucumber, yogurt, dill and mint. Season with sea salt and pepper. Refrigerate for later, or as I did, serve immediately.

*The cookbook is from my cousin Ben and his wife Kelsey, and is inscribed with a wonderful quote shared with the wisdom of several beautiful years of marriage behind them: “Cooking is like love: it should be entered into with abandon or not at all.”

x.

FacebookTwitterPinterestGoogle Gmail

Posted by Kristen Leave a Comment
Filed Under: Entertaining, Recipes Tagged: Appetizers, Greek Food, Snacks, Tzatziki

March 31, 2015

Simple Chicken Fajita Bake

Modern Pineapple Chicken Fajita Bake

Modern Pineapple Chicken Fajita Bake 2

Modern Pineapple Chicken Fajita Bake 4

I fully appreciate dinners that offer great flavor without sacrificing too much time to prep. A favorite of ours is a Mexican chicken recipe I found on Pinterest a few months ago {check out other pins including recipes and decor that I love here}. It’s a great weeknight recipe with ingredients you can pick up over the weekend or on your way home from work, toss together and enjoy in under an hour. *I modified the recipe slightly for us, which is reflected below.

Ingredients

  • 4 boneless skinless chicken breasts
  • 2 tsp taco seasoning
  • 3 bell peppers in various colors {usually red and green}
  • 1 large white onion, thinly sliced
  • 2 tbsp olive oil
  • 1/4 cup shredded mature cheddar cheese

To make: Turn the oven onto 400F/205C. Lay the chicken breasts in a glass dish {I like a deep Pyrex to add lots of yummy veggies}. Sprinkle on the taco seasoning. Slice the bell peppers and onions, and spread them evenly on top of the chicken. Drizzle the olive oil on top and sprinkle cheese over the entire dish. Bake for about 35-40 minutes and enjoy! I usually serve ours with Daniel’s Hot Salsa and rocket greens.

Modern Pineapple Chicken Fajita Bake 5

FacebookTwitterPinterestGoogle Gmail

Posted by Kristen Leave a Comment
Filed Under: Recipes Tagged: Chicken, Weeknight recipes

March 26, 2015

Wedding Registry Baking Essentials

Modern Pineapple Registry Baking EssentialsFor the second installment of wedding registry essentials {take a look at my glassware guide earlier this month here}, I’m sharing the baking basics that will be beyond helpful in the kitchen. If you’re not trying to be the next Cake Boss, this is a good starting place {if you love to whip up all sorts of cakes and pies, then you might be adding a few more goodies to this list like a marble rolling pin, a springform pan and even a tart pan with removable bottom}.

I’ve pulled together the items to prep, bake, and cool above. These should get you through most of your sweet adventures, and help you with perfecting a chocolate chip cookie recipe {my favorite from the New York Times here}. It’s basically what I have right now too, with a smaller city kitchen. I recommend these products wholeheartedly and wish you much baking success!

1. For weekend blueberry muffins and birthday cupcakes — a standard 12-well pan is ideal to maximize time. {Williams-Sonoma Goldtouch}

2. The prettiest pie dish that you’ll want to keep on display, even if you don’t make a pie but at the holidays. {Emile Henry}

3. Round cake pan for birthday cakes — definitely get a few of these to bake multiple layers at once. {Williams-Sonoma Goldtouch}

4. Measuring cups and spoons are an essential for adding the right amount of ingredients. {All-Clad}

5. This is my favorite liquid measuring cup that can be put in the microwave for safe heating and dishwasher for easy cleaning. {Pyrex}

6. My love for Le Creuset bakeware has no end. A loaf pan will come in handy in many forms, especially making banana bread. {Le Creuset}

7. This bundt cake pan has the most gorgeous shape, and each one I’ve made comes out a perfect golden color. {Nordic Ware}

8. Silpats are a gift from above with how small they get {I roll mine up and store upright on a shelf}. They’re useful for rolling out dough or for placing out ingredients. {Silpat}

9. Cookie sheets that are pretty and practical — it’s a good idea to go for multiple here too. {Williams-Sonoma Goldtouch}

10. A cooling rack for all your baking goodies to reach the right temperature before digging in! {Williams-Sonoma Goldtouch}

FacebookTwitterPinterestGoogle Gmail

Posted by Kristen Leave a Comment
Filed Under: Gifts, Recipes Tagged: Baking, Kitchen, Wedding Registry

March 25, 2015

Nut Butter Energy Balls

Modern Pineapple Energy Balls

I’m so excited to share this little recipe with you! I always like to have something easy to eat on the go, as my husband and I are always running around during the weeks. I don’t want us to have just anything though, rather a snack that gives us energy for the next activity. Enter these delicious Energy Balls. I had seen versions of this marketed in grocery stores, so decided to find a way to make my own. Of course, I headed to Pinterest. This is the recipe I found and modified just a bit to fit our needs. My version is below, and I use it time and time again. My husband loves them {a true sign of a successful recipe!}. Enjoy these sweet bites!

Nut Butter Energy Balls

Ingredients

  • 1/2 cup unsweetened coconut
  • 1 and 1/2 cups old-fashioned oats
  • 1/4 cup mini chocolate chips
  • 1/2 cup nut butter {smooth}
  • 1/4 cup honey
  • 1/2 tsp vanilla extract, plus a little extra

Combine all of the ingredients in a large mixing bowl and stir together. Scoop the mixture with a small cookie scoop or spoon. Mold in your hands to create a ball {this is a little messy but you’re in the kitchen so no big deal}. Place the formed ball onto parchment paper-lined baking sheet. Note: make sure you’re using a baking sheet that fits into your fridge. Chill in the fridge until set, about an hour. Store in an air-tight container.

FacebookTwitterPinterestGoogle Gmail

Posted by Kristen Leave a Comment
Filed Under: Recipes Tagged: Energy Balls, Snacks

March 11, 2015

Simple Weeknight Chicken Stir-Fry

MP Chicken & Broccoli

By the middle of the week, I’m usually looking for a quick, healthy dinner to keep us going but requires minimal effort. We often start the week off on Sunday with a roast chicken {my favorite dish to make by far}. I love this ritual we have — it is just the best, heartwarming meal to connect after a fun weekend and gear up for the week ahead.

We’ve never finished an entire chicken just the two of us, so we have more to use in salads in the following days. I also can usually make one more dinner out of it, which can range from tacos to soup to stir-fry. This broccoli and chicken stir-fry always makes my husband happy {and full! which is important}, so we usually enjoy it every few weeks. Happy cooking!

Chicken Stir-Fry

1 cup cooked chicken {this can vary with what you have — you be the judge}
2 cups broccoli
1/2 cup mushrooms, sliced
1 teaspoon Coconut oil
1 tablespoon Light soy sauce
Quinoa

1. Turn the burner for the frying pan on high, and add coconut oil to melt.

2. Cook the quinoa on a separate burner {one part quinoa to two parts water and a dash of sea salt, first to boil then down to a low heat for another 15 minutes}. By the time the quinoa is cooked, your stir-fry will be ready.

2. Cut up the broccoli {or buy pre-cut} into bite-sized pieces, and toss into the frying pan. Let it cook for 3-4 minutes while cutting up mushrooms. Add mushrooms and chicken into the pan and stir until you start to see the mushrooms turning a lighter brown color.

3. Turn the heat down to medium-high and add the light soy sauce {I really try not to use much soy sauce, but we really enjoy the flavor — use your judgment but I like to add just a bit}. Put the lid on the frying pan, and let it cook for another 5 minutes. Voile! Sample to taste, see if you need to add any more soy sauce or cook another minute or two. Once ready, serve the stir-fry on top of a bed of quinoa, light some candles and enjoy a glass of wine with your delicious dinner.

MP Broccoli

MP Mushrooms

MP CBM

MP Add Soy Sauce

MP Chicken & Broccoli

FacebookTwitterPinterestGoogle Gmail

Posted by Kristen Leave a Comment
Filed Under: Recipes Tagged: Chicken, Recipes, Weeknight dinner

March 10, 2015

Blueberry Mango Galette

MP Fruit Galette

This past summer {thanks to the New York Times} was the first time I discovered galettes, a mouthwatering cross between a pastry, pie, tart and cake all in one. And by discovered, I mean I made one myself. I used some sweet peaches we had and found how simple it was to make a delicious dessert from start to enjoying in under an hour.

Since then, fruit galettes have been one of my go-to desserts. They’re relatively forgiving, comforting and can be filled with just about anything you wish {traditionally galettes were a savory dish, but now are often served with a sweet filling}. Plus, I love a homemade dessert that is served warm and can be accompanied with ice cream. Sold.

This past weekend, champagne mangos were featured at our neighborhood Whole Foods, so I picked up a couple and matched it with blueberries we had at home. There are lots of recipes out there, but I’m fearless in the kitchen and pull together bits of recipes to make up my own. Instead of a pie crust {I usually use a pre-made one}, I went with a flaky puff pastry for a lighter feeling. I recommend it wholeheartedly for your next gathering, and for my UK friends hosting their mums for Mother’s Day this weekend, you’ll make her proud.

Blueberry Mango Galette

Filling
  • 1 C blueberries {ideally fresh, but can be frozen}
  • 2 mangoes, peeled, pitted, and sliced
  • Pinch of salt
  • 1 T sugar
  • 1 T flour
  • ¼ t ground cinnamon
  • 1 t lemon zest
Assembly
  • 1 egg, slightly beaten
  • 1 T water
  • 2 t sugar
Instructions
Crust
  1. Take pre-made crust out of the refrigerator about 1 hour before using.
  2. Roll out dough onto floured surface to about a 12″ circle.
Filling
  1. In a large mixing bowl, combine blueberries, mango, salt, sugar, flour, cinnamon, and lemon zest.
  2. Toss until all fruit is coated and set aside.
Assembly
  1. Preheat oven to 400 F / 205 C.
  2. Transfer rolled dough to parchment lined baking sheet with lip.
  3. Pour filling into the middle of dough.
  4. Spread evenly, leaving about 2” around the edge for folding.
  5. Fold edges of dough over filling, forming a circle/hexagon shape and gently pressing to seal dough around filling.
  6. Whisk egg and water together in a small bowl.
  7. Brush pastry dough with egg wash and sprinkle lightly with sugar.
  8. Bake for 40 minutes {I let mine cook slightly too long this weekend – be prompt!}.
  9. Let it cool for 5-10 minutes and serve warm with vanilla ice cream.

MP Galette 1

MP Mango

MP Galette Filling

MP Galette Pre-Baking

MP Baked Galette

MP Galette Dessert Set Up

MP Galette Cut

MP Galette Eating

FacebookTwitterPinterestGoogle Gmail

Posted by Kristen Leave a Comment
Filed Under: Entertaining, Recipes Tagged: Dessert, Fruit Galette, Recipes

March 7, 2015

How to Make Homemade Popcorn

There aren’t many things I buy from a package these days — except of course crackers to accompany cheese plates and chocolate to satisfy my sweet tooth (but that doesn’t count…). One of my favorite snacks that I used to buy packaged was popcorn. Three minutes on medium-high in the microwave, and I was in heaven.

A year or so ago, I realized I could buy just the kernels {for less!} and control what I wanted going into my popcorn. So much more appealing, and satisfying knowing I had “made” it myself. Thus, a new love affair was born. It’s so easy – and once you do it this way you’ll never go back. It’s one of my favorite ways to elevate an at-home movie or catching up on a few episodes on Netflix.

Ingredients:

  • Popcorn kernels {available at any grocery store – I buy ours at Whole Foods Kensington}
  • Coconut oil
  • Seasoning {I use Old Bay. Londoners, it’s also sold at WF!}

MP Popcorn Container

Place your pot on the stove, and crank the heat up to high. Scoop out just enough coconut oil to coat the bottom of the pan once melted {this happens pretty much instantly}. Pour in your popcorn kernels so you have a layer of them across the pot. You don’t need too much here, it makes a lot!

MP Popcorn

Put the lid onto your pot, and watch it cook. It will be about 3 minutes when you start hearing the kernels going crazy. Another minute or so, and you’ll have a fully popped pot of popcorn. {Say that three times fast!}

MP Popped Corn

Once you don’t hear much popping anymore, just take the pan off the heat source and pour gently into a large bowl. Lightly add on your seasoning, and serve warm.

MP Old Bay Popcorn

Now you’re set with the perfect munch mix to accompany your TV binge watching {plus you’ll be a marvel to your friends or significant other that you made it “from scratch,” I swear}. We still have House of Cards on our watch list, so hoping to fit an episode in today between the gym and heading to the Country 2 Country concert at the O2. Happy weekending!


FacebookTwitterPinterestGoogle Gmail

Posted by Kristen Leave a Comment
Filed Under: Recipes Tagged: Easy Recipes, Popcorn

  • 1
  • 2
  • Next Page »

Recent Posts

  • Caffeinating at Kensington Coffee
  • The Golden City
  • Baking Banana Bread
  • And A Happy New Year!
  • Wild at Heart

Take 15% Off First Order with Shopbop App, Use Code APP15

Shopbop.com
JUST ARRIVED
  • heart Cosabella

    View
  • Zeno Tie Tee at Shopbop

    View
  • Anya Top

    View
< >
SHOP TUNICS
  • click here to get the look

    View
  • love this outfit

    View
  • Buy Felicia Tunic from Club Monaco

    View
< >
FEATURED

+1

Get this widget 

Let’s Get Social

Twitter

Pinterest

Instagram

Say Hello

Copyright

Copyright Modern Pineapple 2015

Theme by 17th Avenue · Powered by WordPress & Genesis

  • -
  • +