Modern Pineapple

Celebrating, Entertaining and Living Well

  • About
  • Decor
    • DIY
    • Organize
  • Entertain
    • Guests
    • Holidays
    • Parties
  • Food
  • Travel
    • London

February 12, 2015

Pillow Talk

A few months ago, my husband and I had the most amazing in-hotel bedding experience ever. So much so that I practically stripped the sheets to see where they were made {and found the goose feather down mattress topper — aha}. Right now, we are on the hunt for new bedding for our guest room and want to make it as incredible as that experience was.

After I arrived in October from New York, we moved into a new flat with two bedrooms to host many of our family and friends from home. With our first guests arriving next month {my husband’s parents!}, we are finalizing those last minute details of hosting overnight visitors for the first time in a new home.

We currently have my bedding from NYC on there. It’s taupe, complete with a down comforter and so many pillows, and I loved it. Now with the mahogany furniture we have in the room (and it’s cozier size), I’d like for us to opt for something much lighter to make the room feel fresh, breezy and casual. Here’s a bit of the bedding inspiration I’ve been perusing…

Guest Room 1
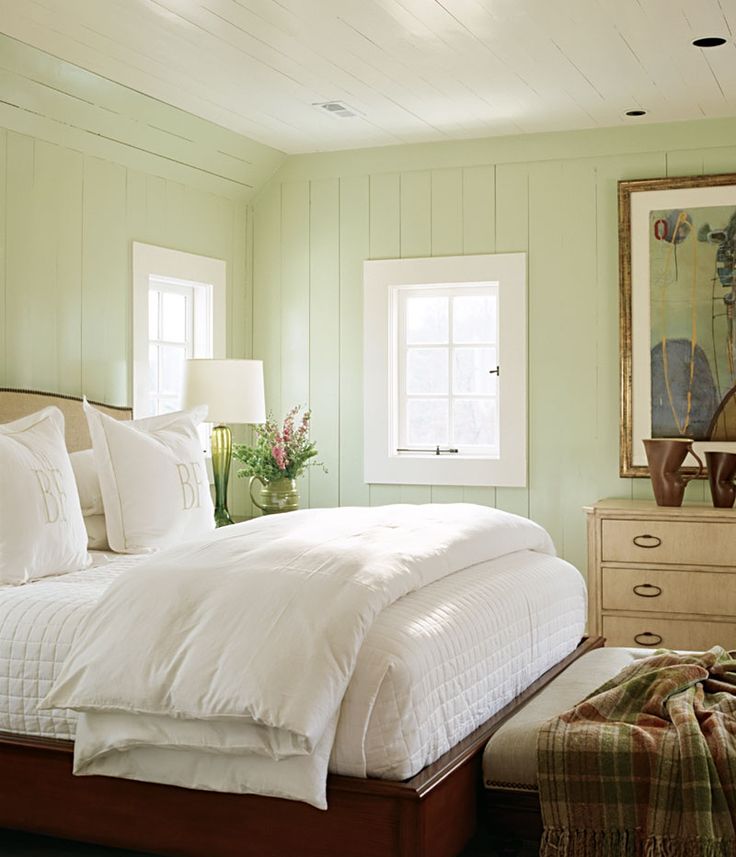
Big fan of the monogram pillows and duvet on the foot of the bed.

Guest Room 2That Trina Turk Greek Key accent pillow.

Guest Room 3
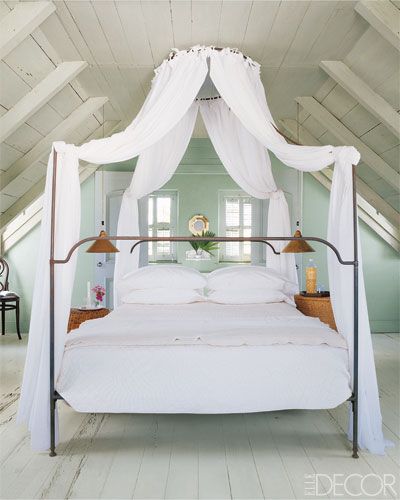
Really this just makes me want to be on a white sandy beach with a pina colada, pronto.

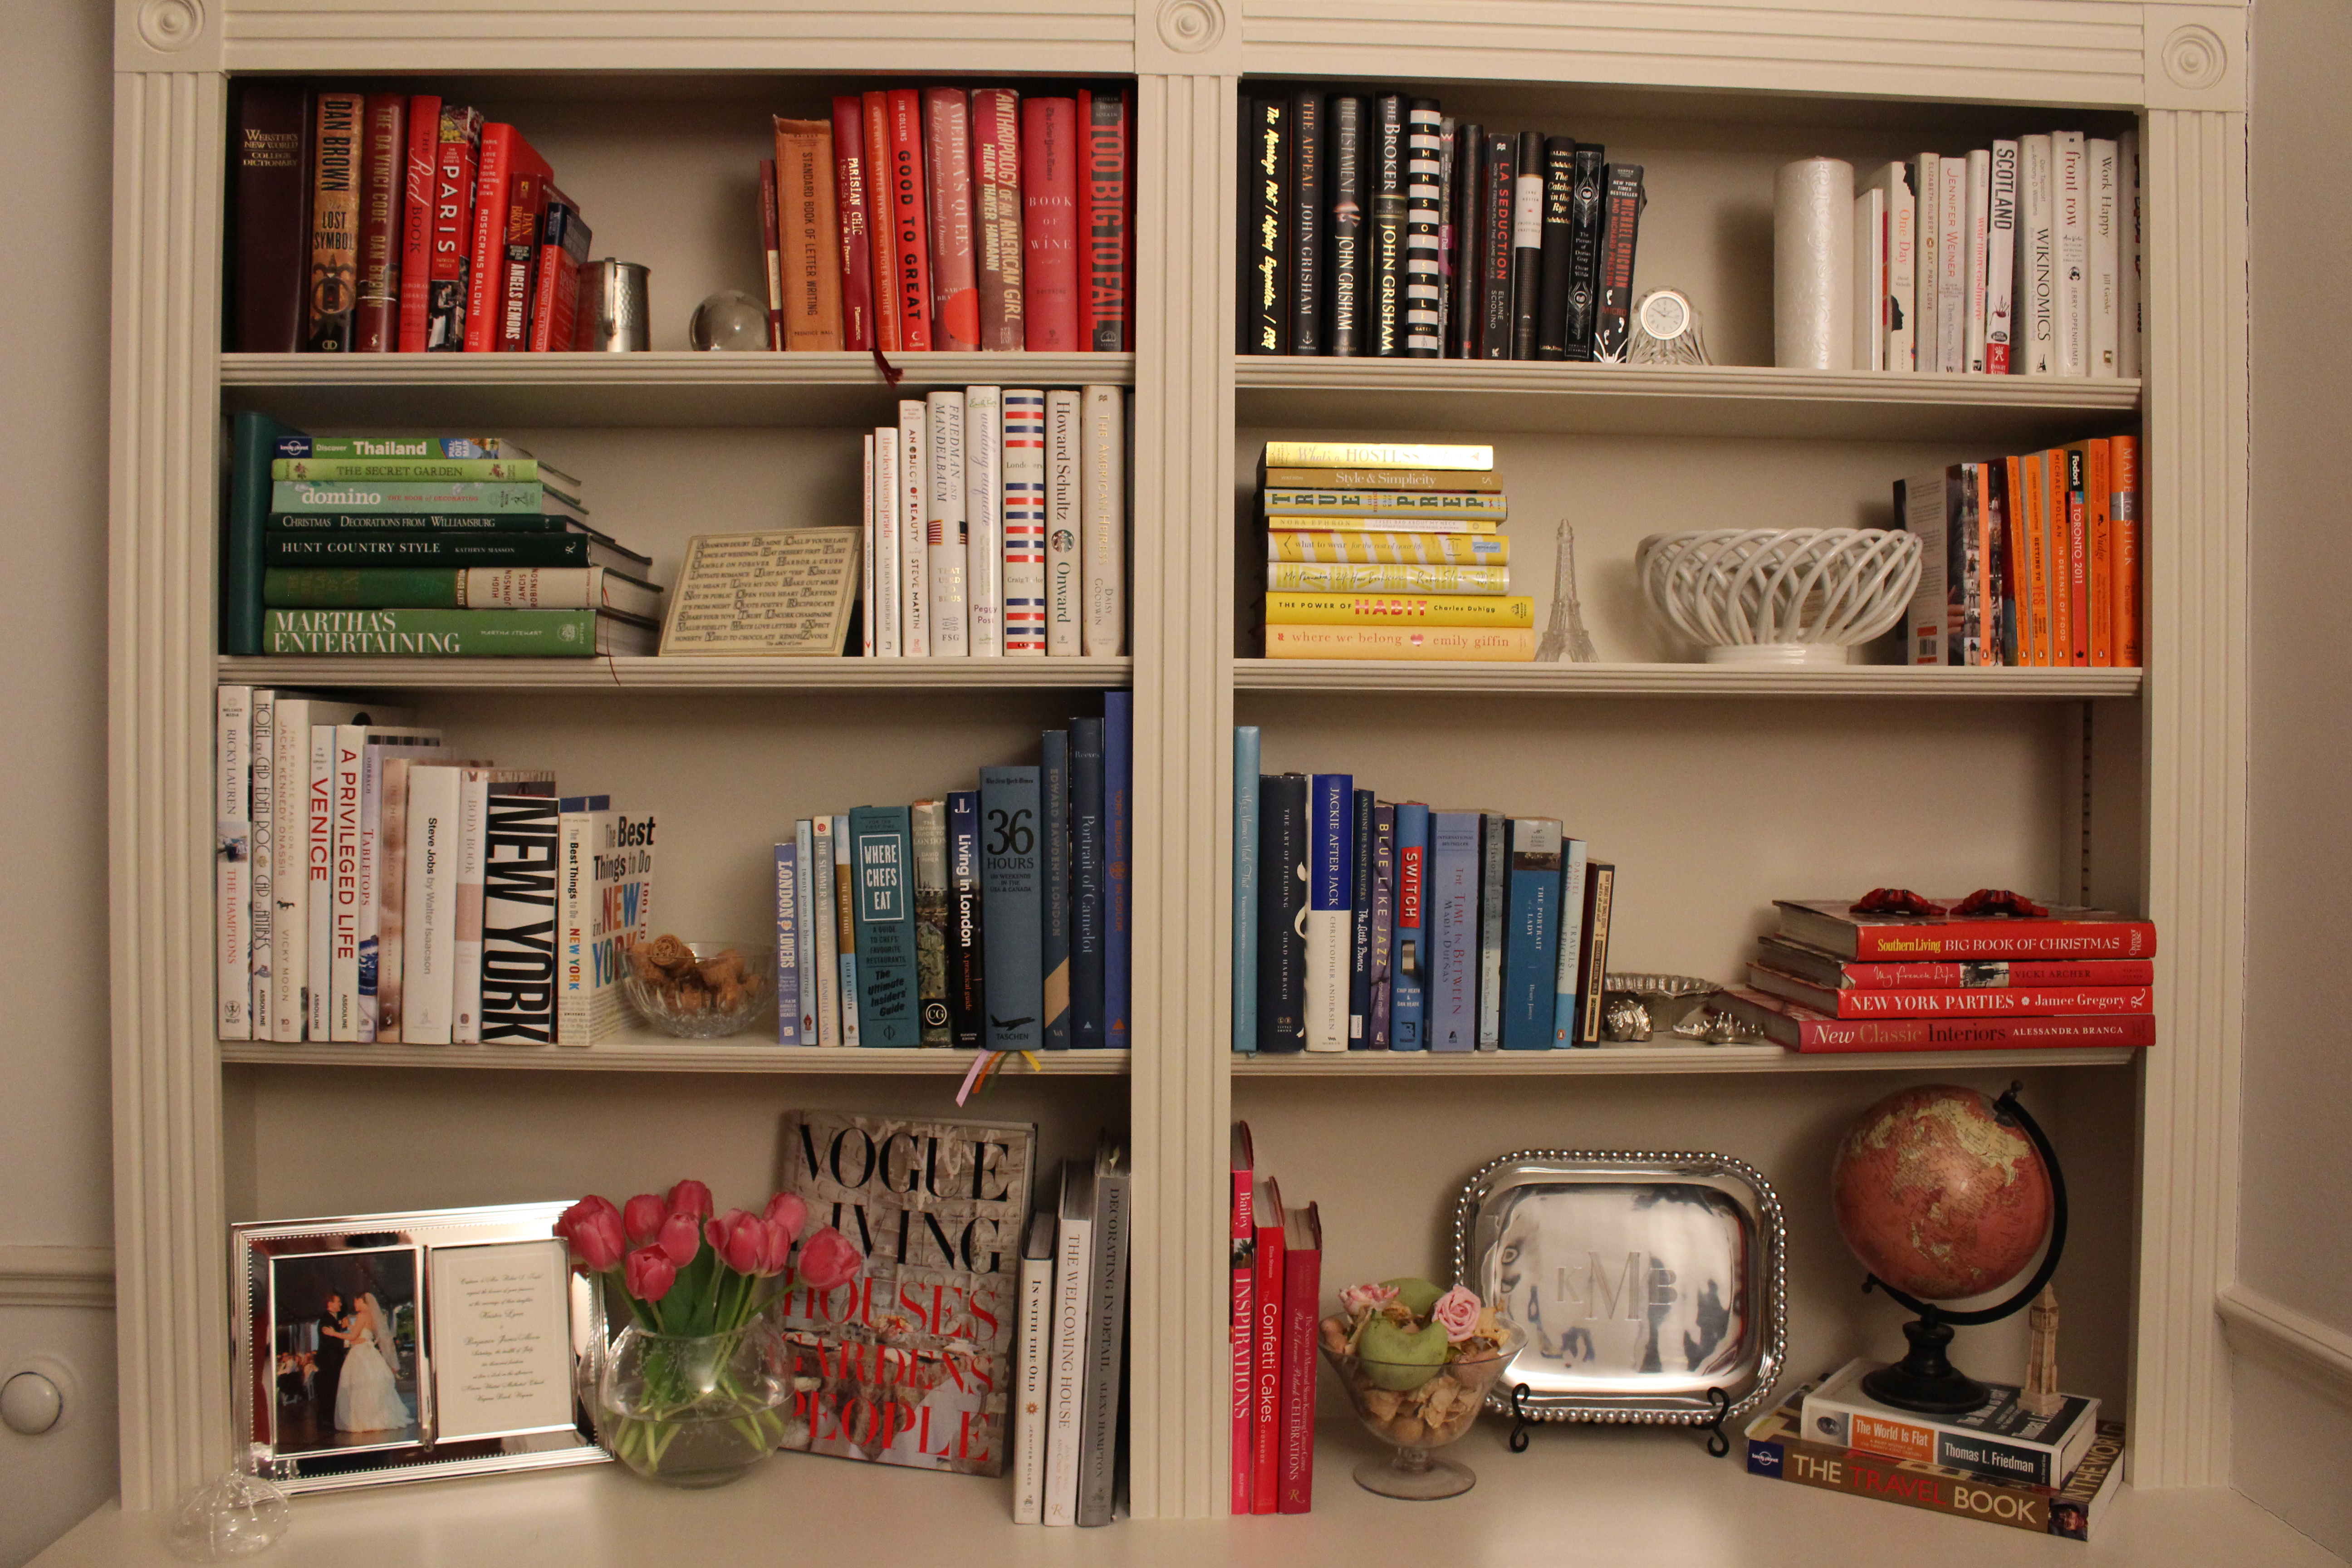
It’s been both fun and a challenge to decorate from British brands with our super American style. We did ship quite a bit over from the States, but there was so much more we needed as we joined forces into one home (!). So far, most of our furniture and decorating details have come from department stores John Lewis and Selfridges, local stores Graham & Green and India Jane for mirrors and special tables, and of course West Elm for decor (dreaming of the opening of Pottery Barn and Williams-Sonoma).

West Elm might be our go-to for the linens — they have so many pretty white options and a sale right now. I’m also looking into, as in lusting after, Yves Delorme, Matouk (swoon), Sferra, and Peter Reed, an English bed linen brand. I’ll unveil our before-and-after guest room a few weeks from now. Stay tuned!

FacebookTwitterPinterestGoogle Gmail

Posted by Kristen Leave a Comment
Filed Under: Guests, Home Decor Tagged: Guest Room, Home Decor, Linens

February 11, 2015

Bar Cart Revival

From margaritas to martinis, there’s something so sexy about cocktails. This past weekend, the Wall Street Journal featured a piece on cocktail renaissance, and in turn, the resurgence of the bar cart. We’re seeing ones to suit every style, from edgy modern to classic traditional, and able fit in any size room.

A couple of my favorites are the West Elm Terrace Cart {love both the gold and silver options!} and the silver Melrose Bar Cart from Bloomingdales. I also adore the carts from Society Social. They have so many great options, but the Sedgewick is the perfect combination of classic yet glam. The bamboo adds a lighter feeling to it, too.

In our place, we have transformed a dry sink my dad bought years ago into our own little bar station. Underneath we have our wine, champagne and cocktail glasses {details on how to choose your glassware in a future post!}, and on top our liquor, mixers, shaker and everything else you need for the perfect combination cocktail.

IMG_1968

To add interest to your bar cart or cocktail station, curate a variety of functional items. I have a tray and a book of cocktails {Craft Cocktails from Assouline, a recent gift for my husband} to mix and serve. There’s also a shaker, strainer and muddler for making any drink {ours are from OXO, similar here}. I also used a martini glass to hold wine bottle stoppers. Both functional and in theme!

Add the liquors and mixers of your choice, a decanter {ours is from Pottery Barn, similar here} and a couple of glasses for putting together a quick drink whenever friends {or your guy!} walks in the door. [We received Kate Spade’s His & Hers old fashioned glasses as a shower gift — love.] Happy mixing!

IMG_1975

IMG_1974
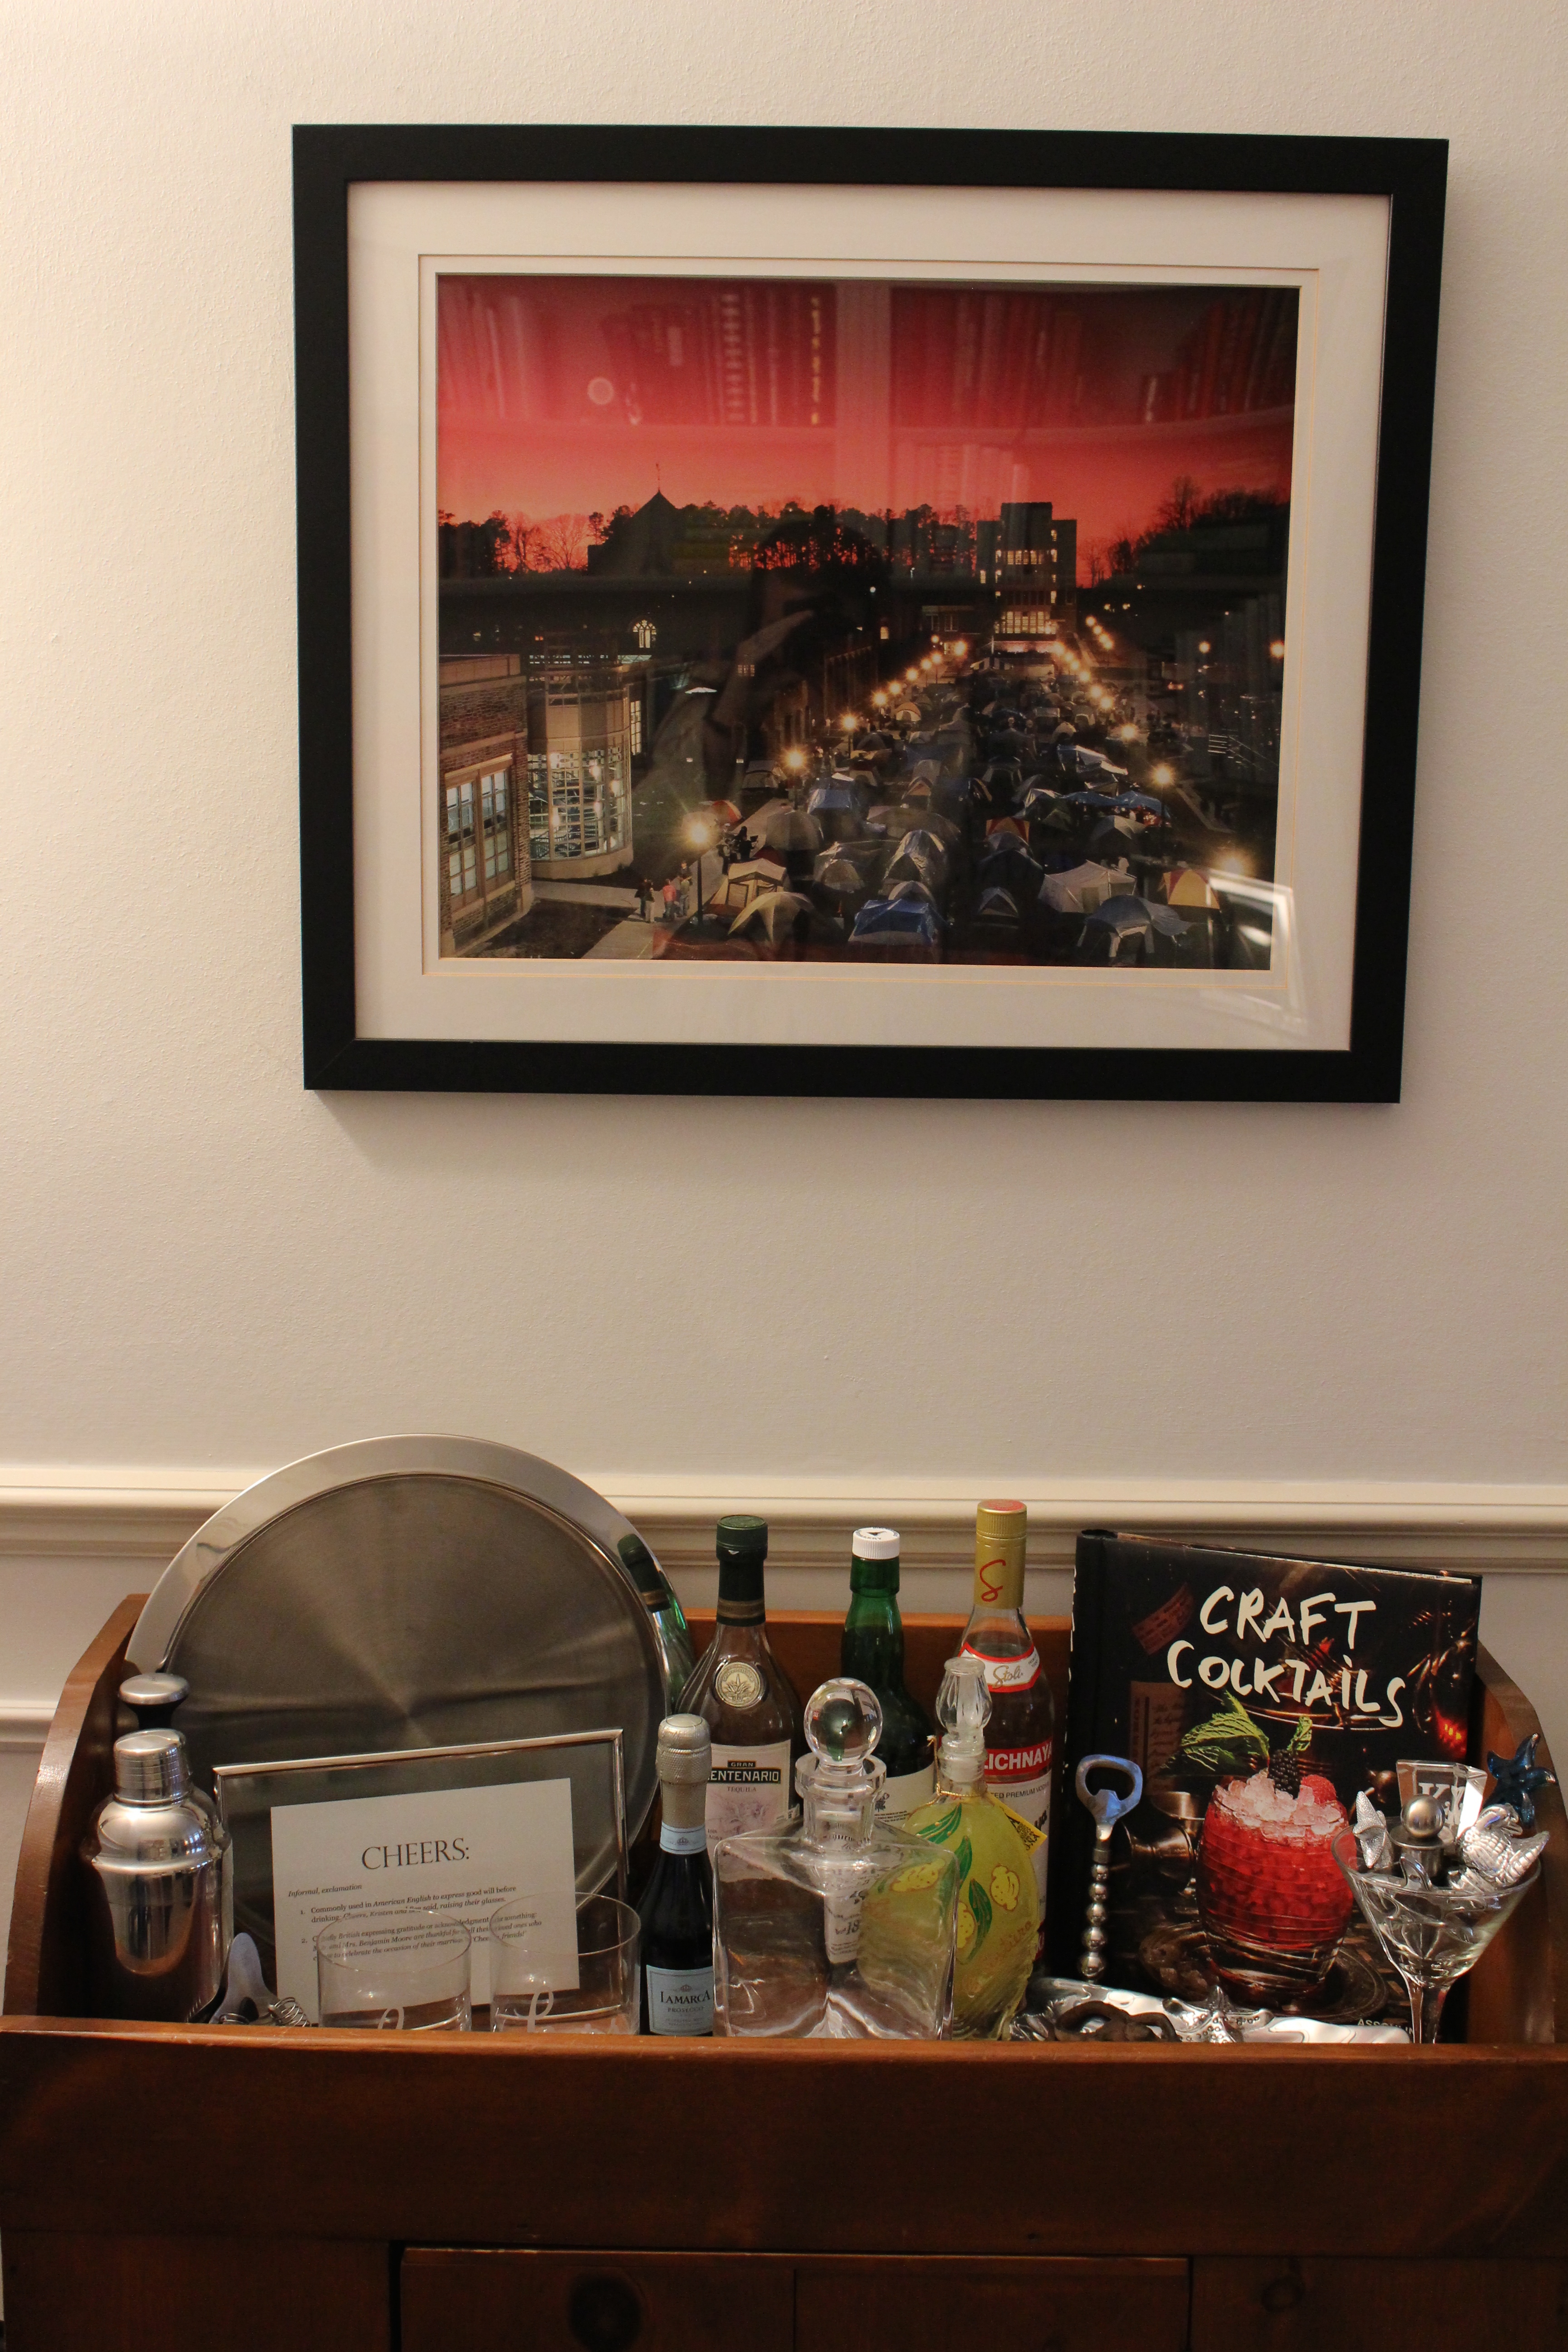
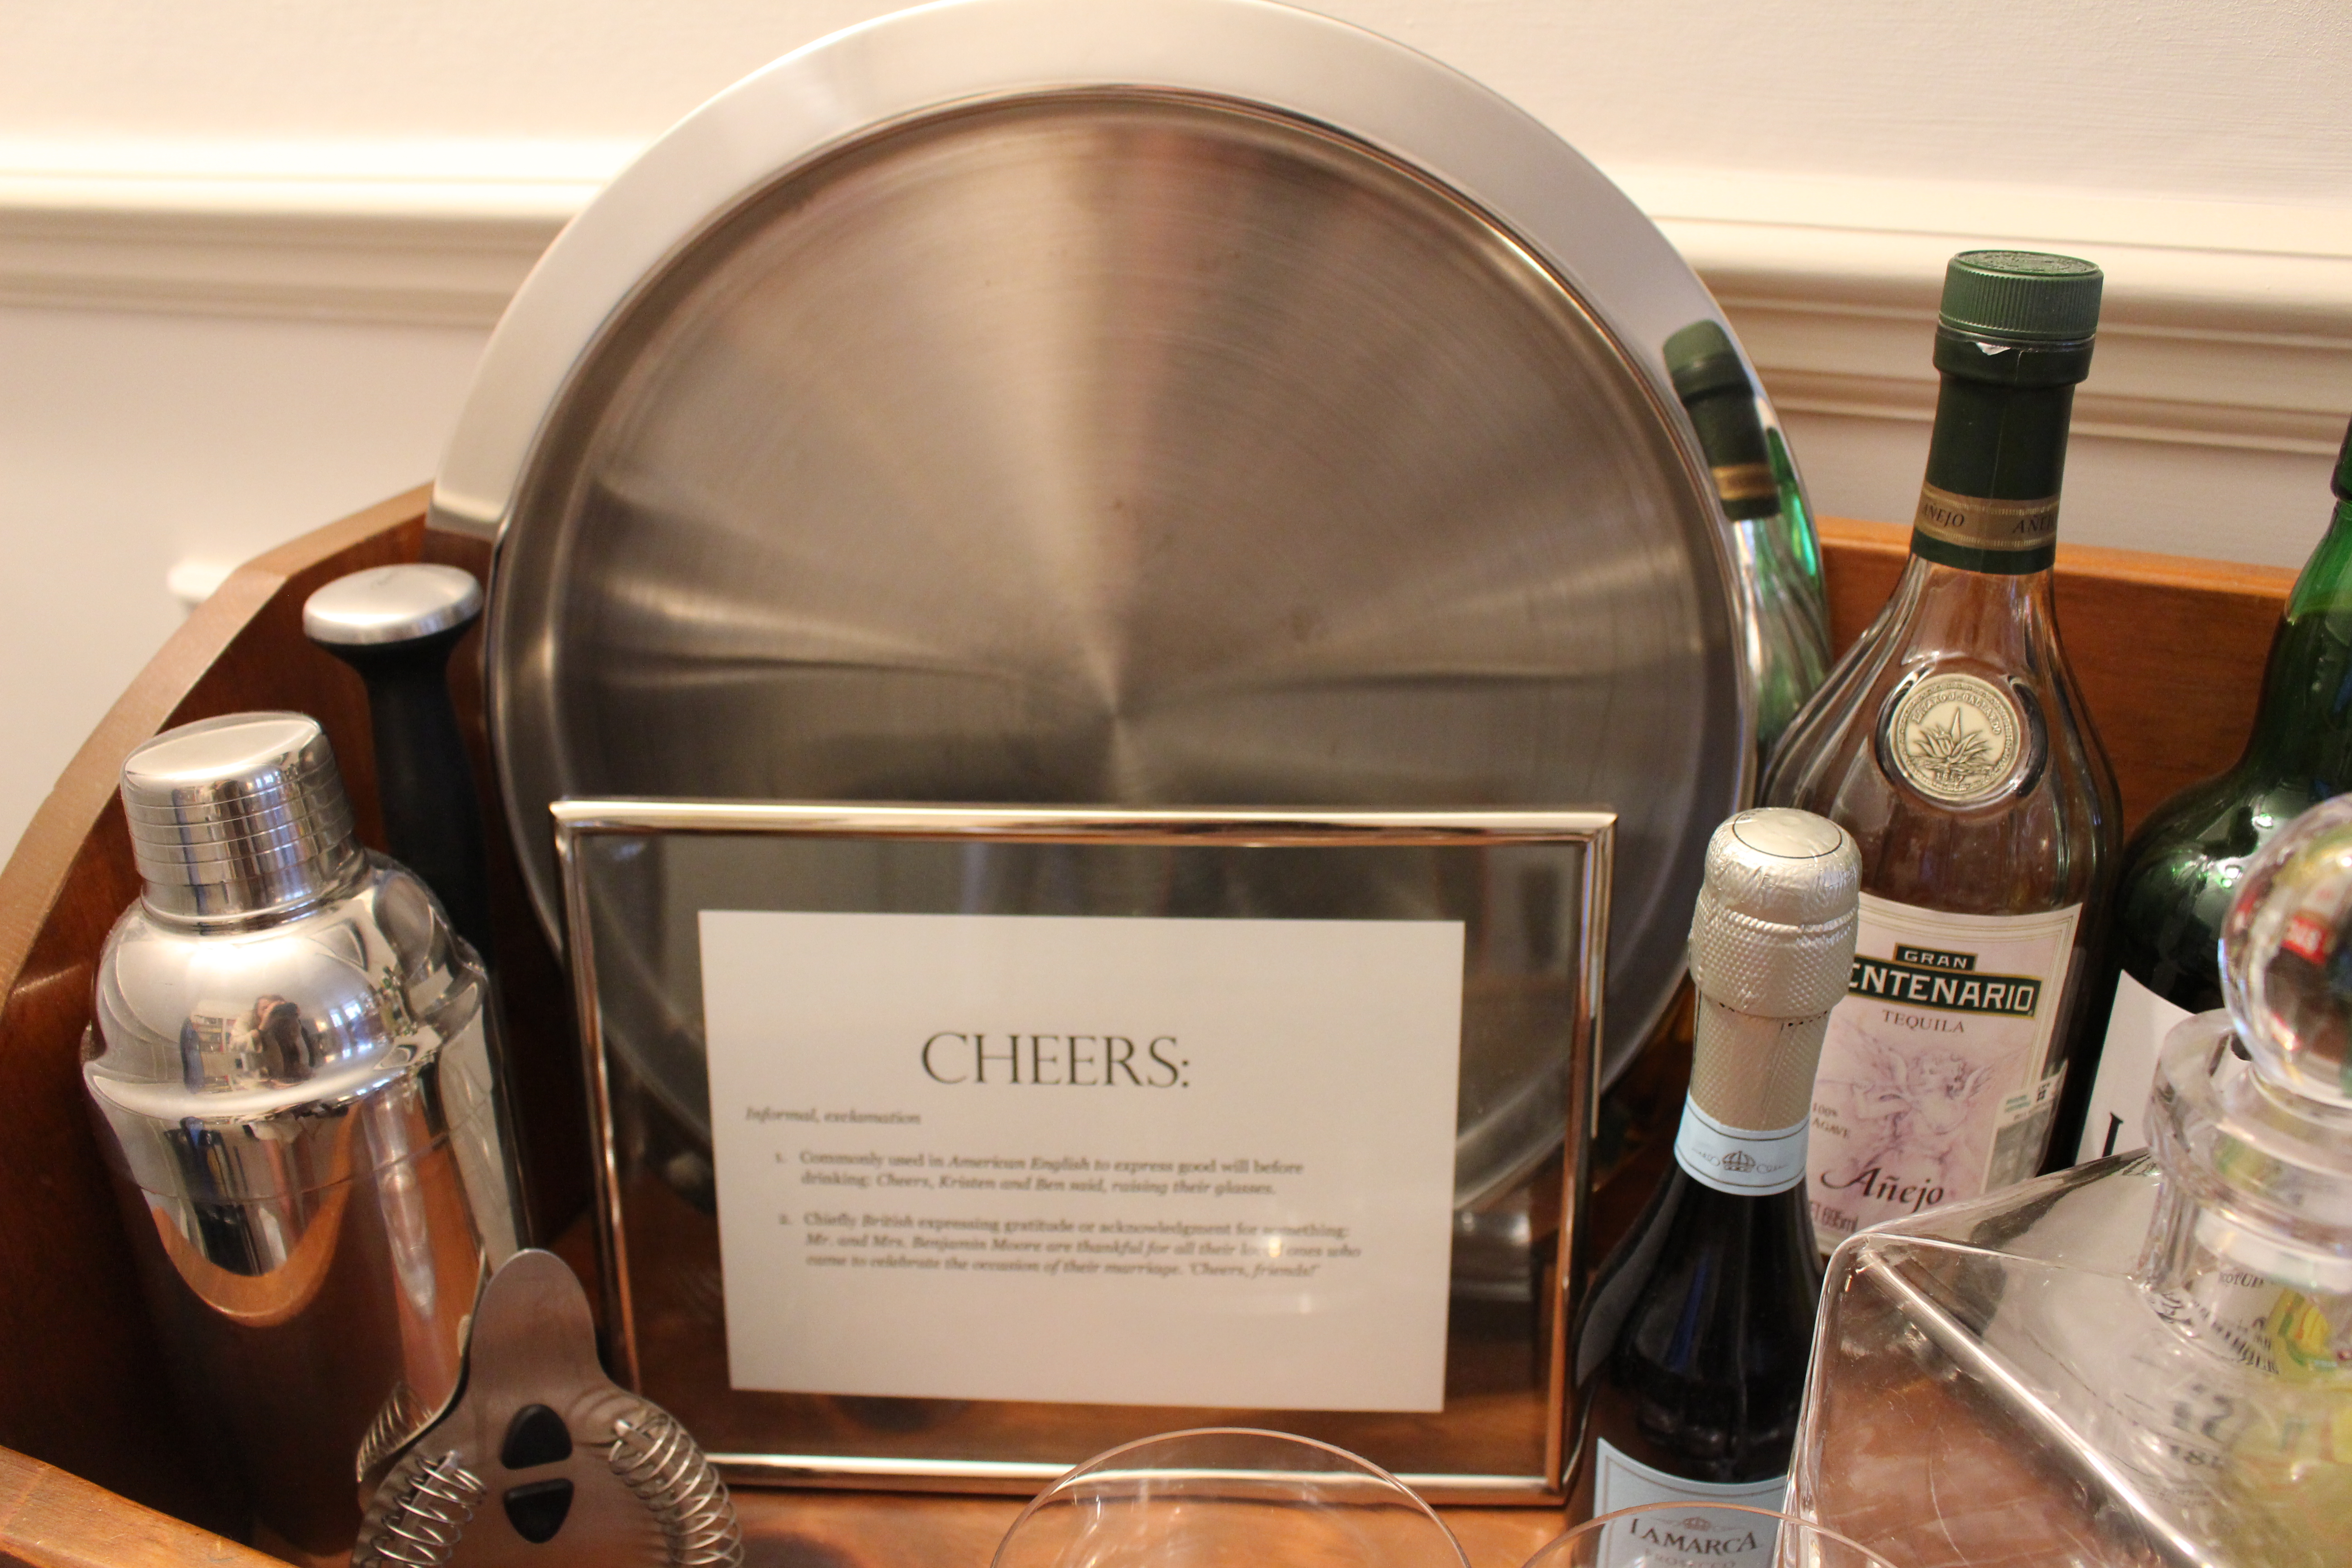
We included the ‘Cheers’ sign from our wedding, with definitions from American and British dictionaries on the word cheers. We had it set up on the bar during cocktail hour, and was a festive way to incorporate our lives in New York and London.

IMG_1971

IMG_1970

FacebookTwitterPinterestGoogle Gmail

Posted by Kristen Leave a Comment
Filed Under: Entertaining, Home Decor Tagged: Bar Carts, Cocktails, DIY, Drinks

February 10, 2015

Favorite Paper: Valentine’s Day Cards

I love cards, stationery, thank you notes… basically any excuse to send a handwritten message on pretty paper and I’m in.

Here are my favorite romantic cards to give your valentines this weekend. {If you happen to have friends or family staying with you, leave a sweet card on their pillow for when they arrive. It will make their visit extra special.}

You Have My Heart RPCoRifle Paper Co, $4.50

Emily McDowellEmily McDowell, $4.50

Sugar Paper XOSugar Paper Los Angeles, $6

Pine For You RPCoRifle Paper Co, $4.50
{A perfect Modern Pineapple!}

If you want to give a card and know the postman can’t deliver in time, I’m also a huge fan of Paperless Post. Sign on and send away!

Kate Spade PaperlessKate Spade New York

Jonathan AdlerJonathan Adler

Emily McDowellEmily McDowell

FacebookTwitterPinterestGoogle Gmail

Posted by Kristen Leave a Comment
Filed Under: Holidays Tagged: Cards, Paper, Valentine's Day

February 9, 2015

Pretty in Pink Cupcakes & Champagne

With Valentine’s Day this weekend, I’ve been on the hunt for a special way to enjoy the day with my guy. No matter your relationship status, it can be such a fun time to celebrate. Whether you’re having a galentine’s day with the girls or a cozy date night with your man, these sugary-sweet cupcakes will have everyone giggling with delight. Here’s a sneak peek of what I’ll be whipping up for the big day.

My mom and I found these in a cookbook called Seriously Simple Holidays a few years ago, and let me tell you they are absolutely amazing. Anytime I need to make cupcakes, I whip up a batch of these babies and everyone swoons. I use our KitchenAid Mixer (ours is medallion silver which I love, though I’m also obsessed with the copper finish one at Selfridges) to make them easily.

IMG_1926Eeep! You can tell my muffin pans have gotten a lot of use over the years! They still do the trick. 

Cooling Cupcakes

While the cupcakes are cooling, you can make your frosting. If you do have a mixer, I recommend having two bowls. It’s easier than washing the bowl in-between, and plus you can just pop the bowls into the dishwasher for a quicker cleanup. I added two drops of red food coloring into the icing for a pastel pink color. It came out the palest shade of pink and was so pretty.

IMG_1929

Once your frosting is ready, it’s time to do the icing. I’ve found the easiest way to decorate the tops of cupcakes is by scooping the frosting into plastic sandwich bags. I just snip off the end, which can vary in size depending on what I’m doing with the icing, and use that as my tip. Starting with the outside edge of the cupcake top, I used a circular motion working inward with the icing, finishing with a little swirl in the middle. Once frosted, I added a little pinch of pearlized sprinkles to give it that little something extra.

Icing Cupcakes

IMG_1933

Once the cupcakes were frosted, the hardest part was waiting! I put the cupcakes on our Mariposa pearled tray {love this one here} and set out our Waterford toasting flutes we used at our wedding. My husband and I snuggled up on our love seat, accompanying our pretty cupcakes with a bottle of rose champagne from Moët & Chandon. The flowers, the bubbles, the sugar — it was a dreamy way to celebrate our sweet love. Don’t forget to add music! It makes any occasion special. We usually pick a channel from iTunes radio that suits. We played our wedding song: “How Sweet It Is” by James Taylor, melts my heart every time. No matter the celebration you make these for, you’re guaranteed a truly sweet treat. I hope this inspires your Valentine’s Day this weekend!

IMG_1942

Sour Cream Vanilla Cupcakes

Cupcakes
1/4 cups all-purpose flour
1/2 teaspoon baking powder
1/4 teaspoon baking soda
1/4 teaspoon salt
2 large eggs
1 cup granulated sugar
1/2 cup (1 stick) unsalted butter at room temperature
1 1/2 teaspoons vanilla extract
1/2 cup sour cream

Icing
1/2 cup (1 stick) unsalted butter at room temperature
3 cups powdered sugar
1 teaspoon vanilla extract
3-4 tablespoons of milk

Preheat the oven to 350 F (177 C). Line your muffin tin with paper liners. Sift the flour, baking powder, baking soda, and salt into a large bowl. In a large bowl with an electric mixer in medium-high speed, beat the eggs and sugar together for 3-4 minutes (until light and creamy). Add the butter and vanilla, and beat on medium speed for about 1 minute, or until well blended. Add the sour cream and beat until smooth.

Fill each cup with equal amounts of the batter. Bake for about 23 minutes, or until an inserted toothpick to the center of the cupcakes comes out clean. Let cool in pan for about 10 minutes, and then transfer to a wire cooling rack.

While the cupcakes continue to cool, make the frosting. In a large bowl, combine the butter, powdered sugar, and vanilla. Using the electric mixer on medium speed, beat until the mixture comes together. Add enough milk, beating on low speed, to make a creamy consistency. Frost your cupcakes (again, I love to use a Ziploc bag to apply the frosting, but you can always use a metal spatula) and add any extras — sprinkles! Serve on a pretty platter and enjoy.

IMG_1945

IMG_1946A dessert fit for two! I served up the cupcakes for us on our wedding china {Vera Wang Wedgwood Platinum Lace}.

FacebookTwitterPinterestGoogle Gmail

Posted by Kristen Leave a Comment
Filed Under: Entertaining, Holidays, Recipes Tagged: Cupcakes, Sweets, Valentine's Day

February 8, 2015

Beautiful Bookshelves

I’m excited to share our living room bookshelves today. They are one of my favorite areas in the flat — I went gaga over them when we were viewing the place. Gorgeously built-in, painted white and all for our books. When our things arrived (we shipped them across the Atlantic from New York to London, it was an epic site to see the crate coming down the street with all of our belongings), the first boxes I unpacked were our books. I knew the look I wanted to create: colorful, classic and a good glimpse into who we are as individuals and a couple. I wanted them to be aesthetically pleasing, but also approachable for guests to feel comfortable taking down a novel or pulling out a decorating book.

Bookshelves

I started by sorting all the books by color. We had so many red, blue and white books that I wanted to display, so those I started with to find a suitable amount of space. A few of my favorites on our shelves are Martha’s Entertaining, Aerin Lauder’s Beauty at Home, Tory Burch’s In Color (a recent gift!), and Alexa Hampton’s Decorating in Detail. We have quite a few more books than what’s on these shelves, but these are truly for display (though I’m always pulling different ones down to read or reference). Our other books are hidden away underneath in the cupboards, or in other bookshelves around the flat. There’s an entirely different bookshelf dedicated to cookbooks–a necessity.

You shouldn’t be afraid to have the books organized in varying ways. Some of ours are standing traditionally, and others are stacked. It depends on the size, color and how many books we wanted to display. It adds some interest to the eye when you look at the shelf as well.

IMG_1902

I decorated the spaces around the books with a variety of our favorite decorative pieces from a perfect-sized crystal bowl filled with Moët & Chandon corks from parties we’ve hosted since moving here, to red crab bottle openers from a Maryland wedding last spring, to silver seashells from my hometown of Virginia Beach [purchased at Shore Gallery & Design]. It was so much fun to play with where objects fit, and I love to linger around the shelves remembering special moments they represent.

IMG_1901
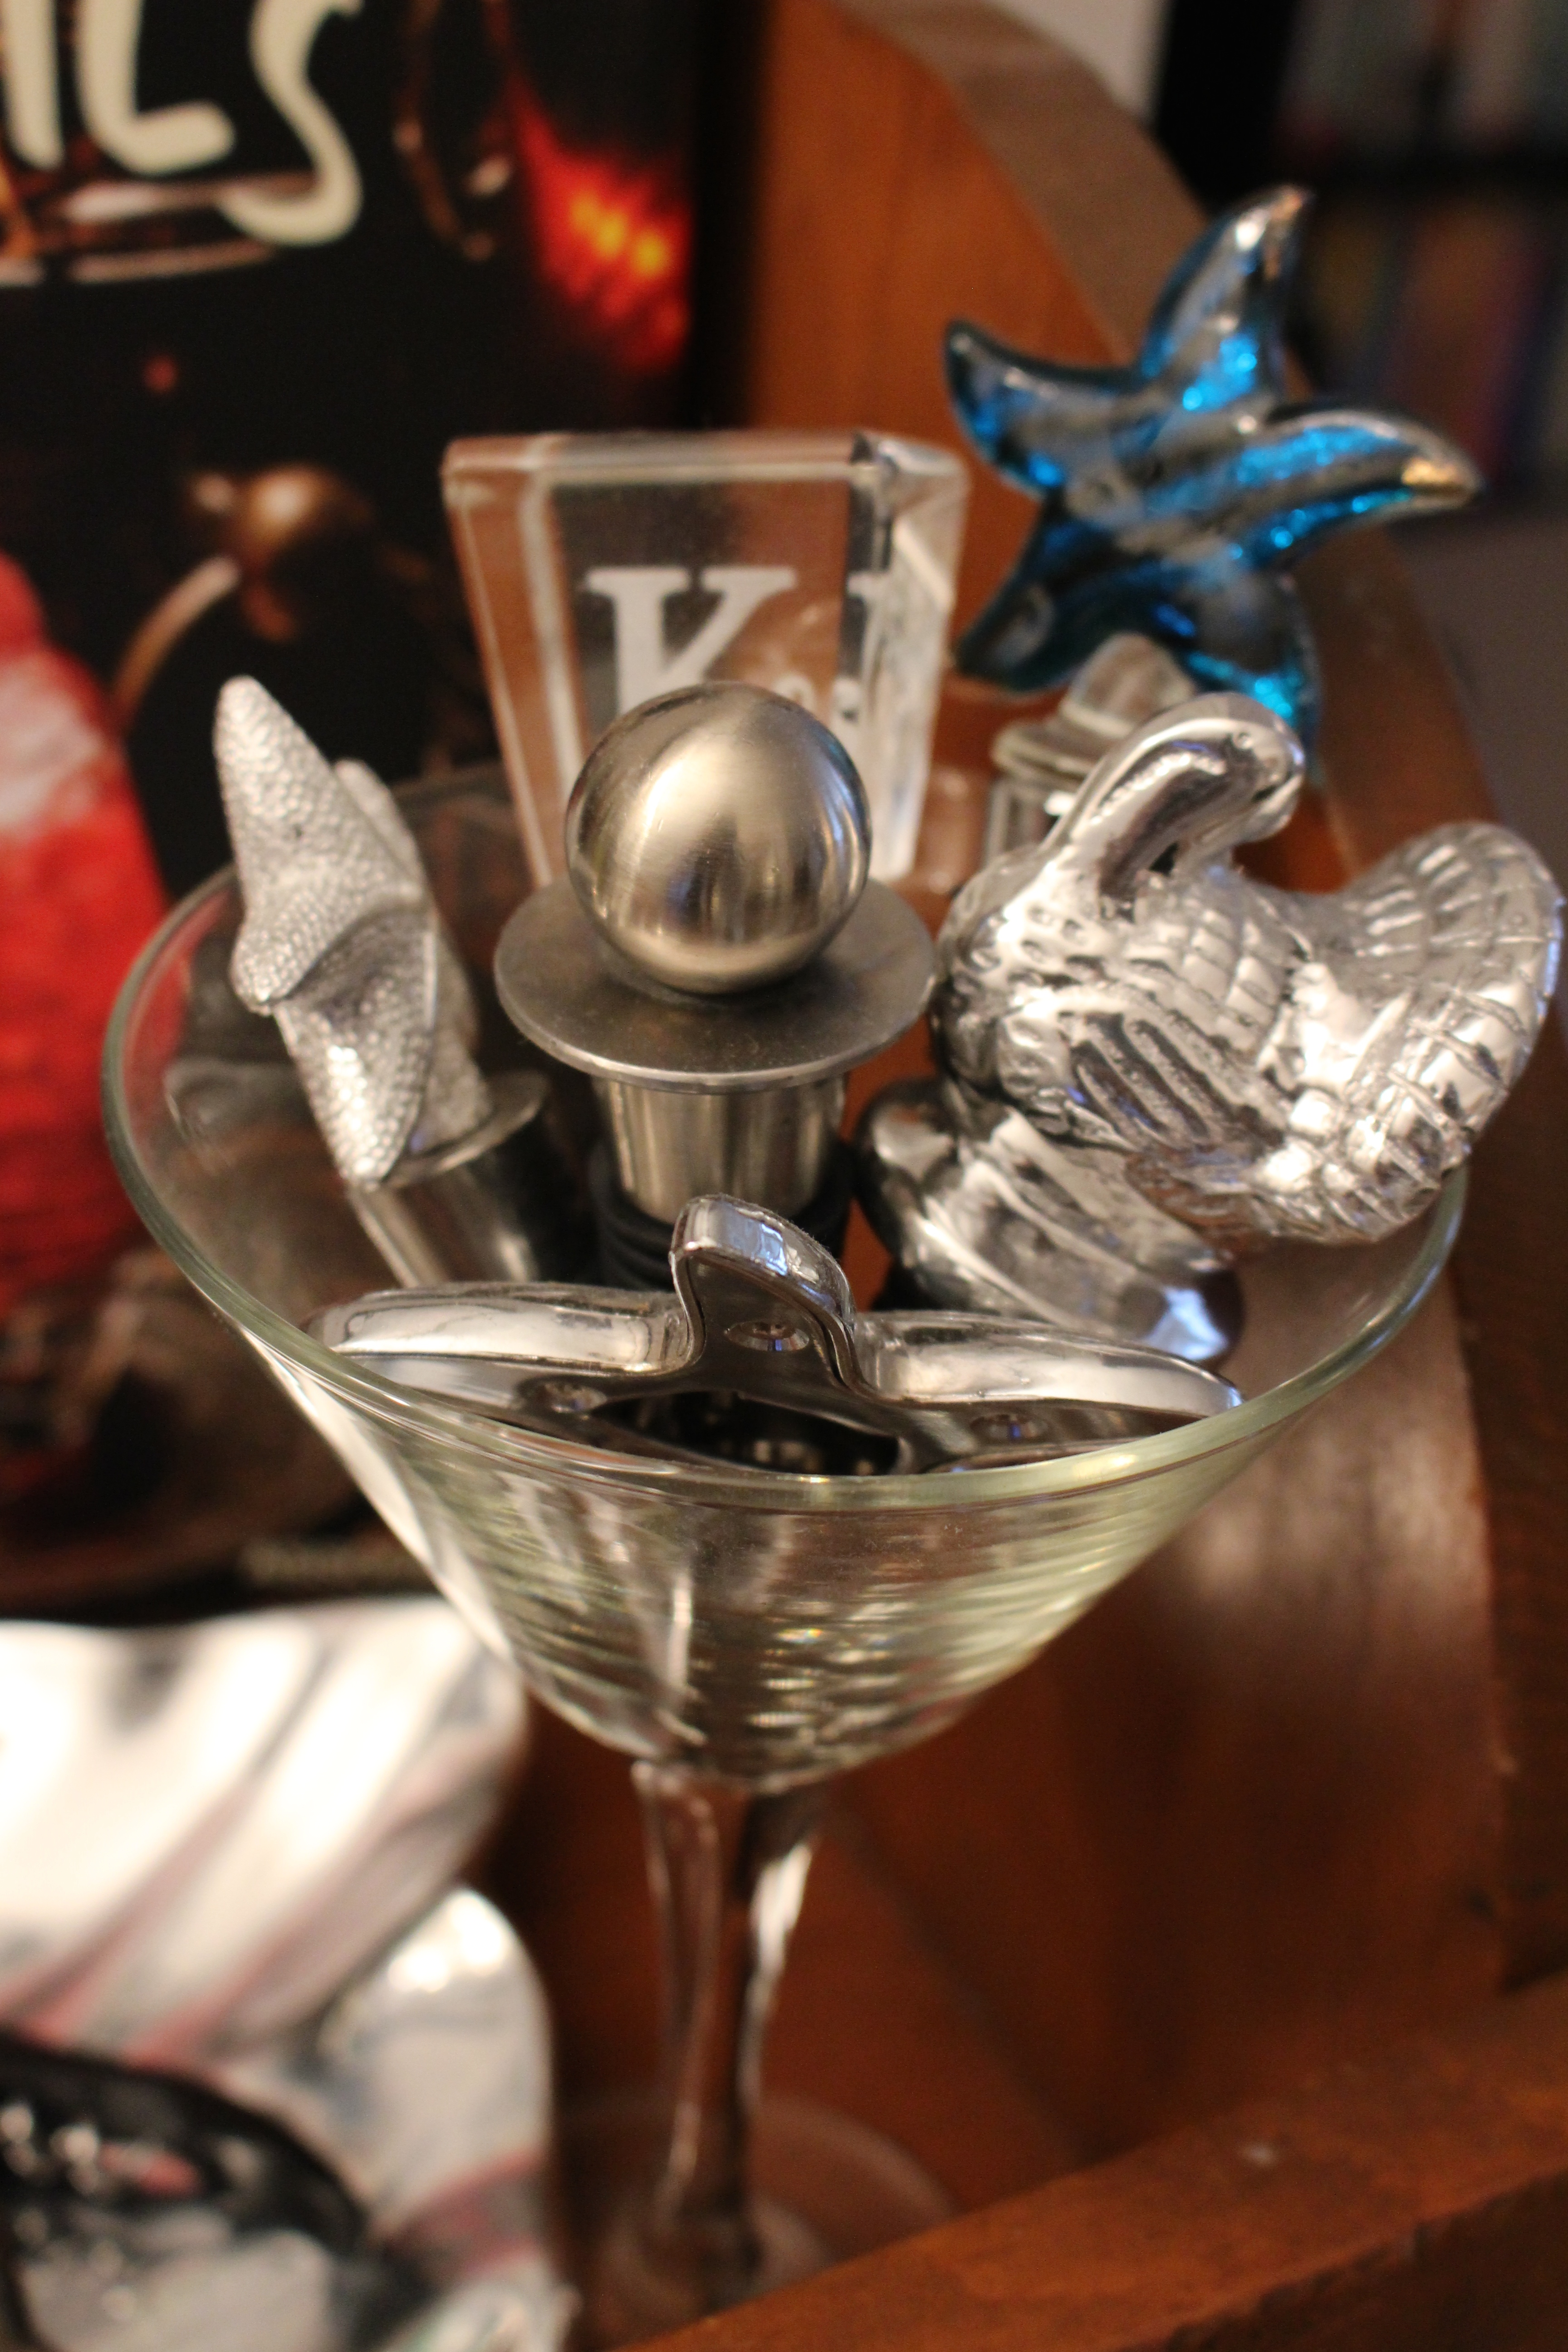
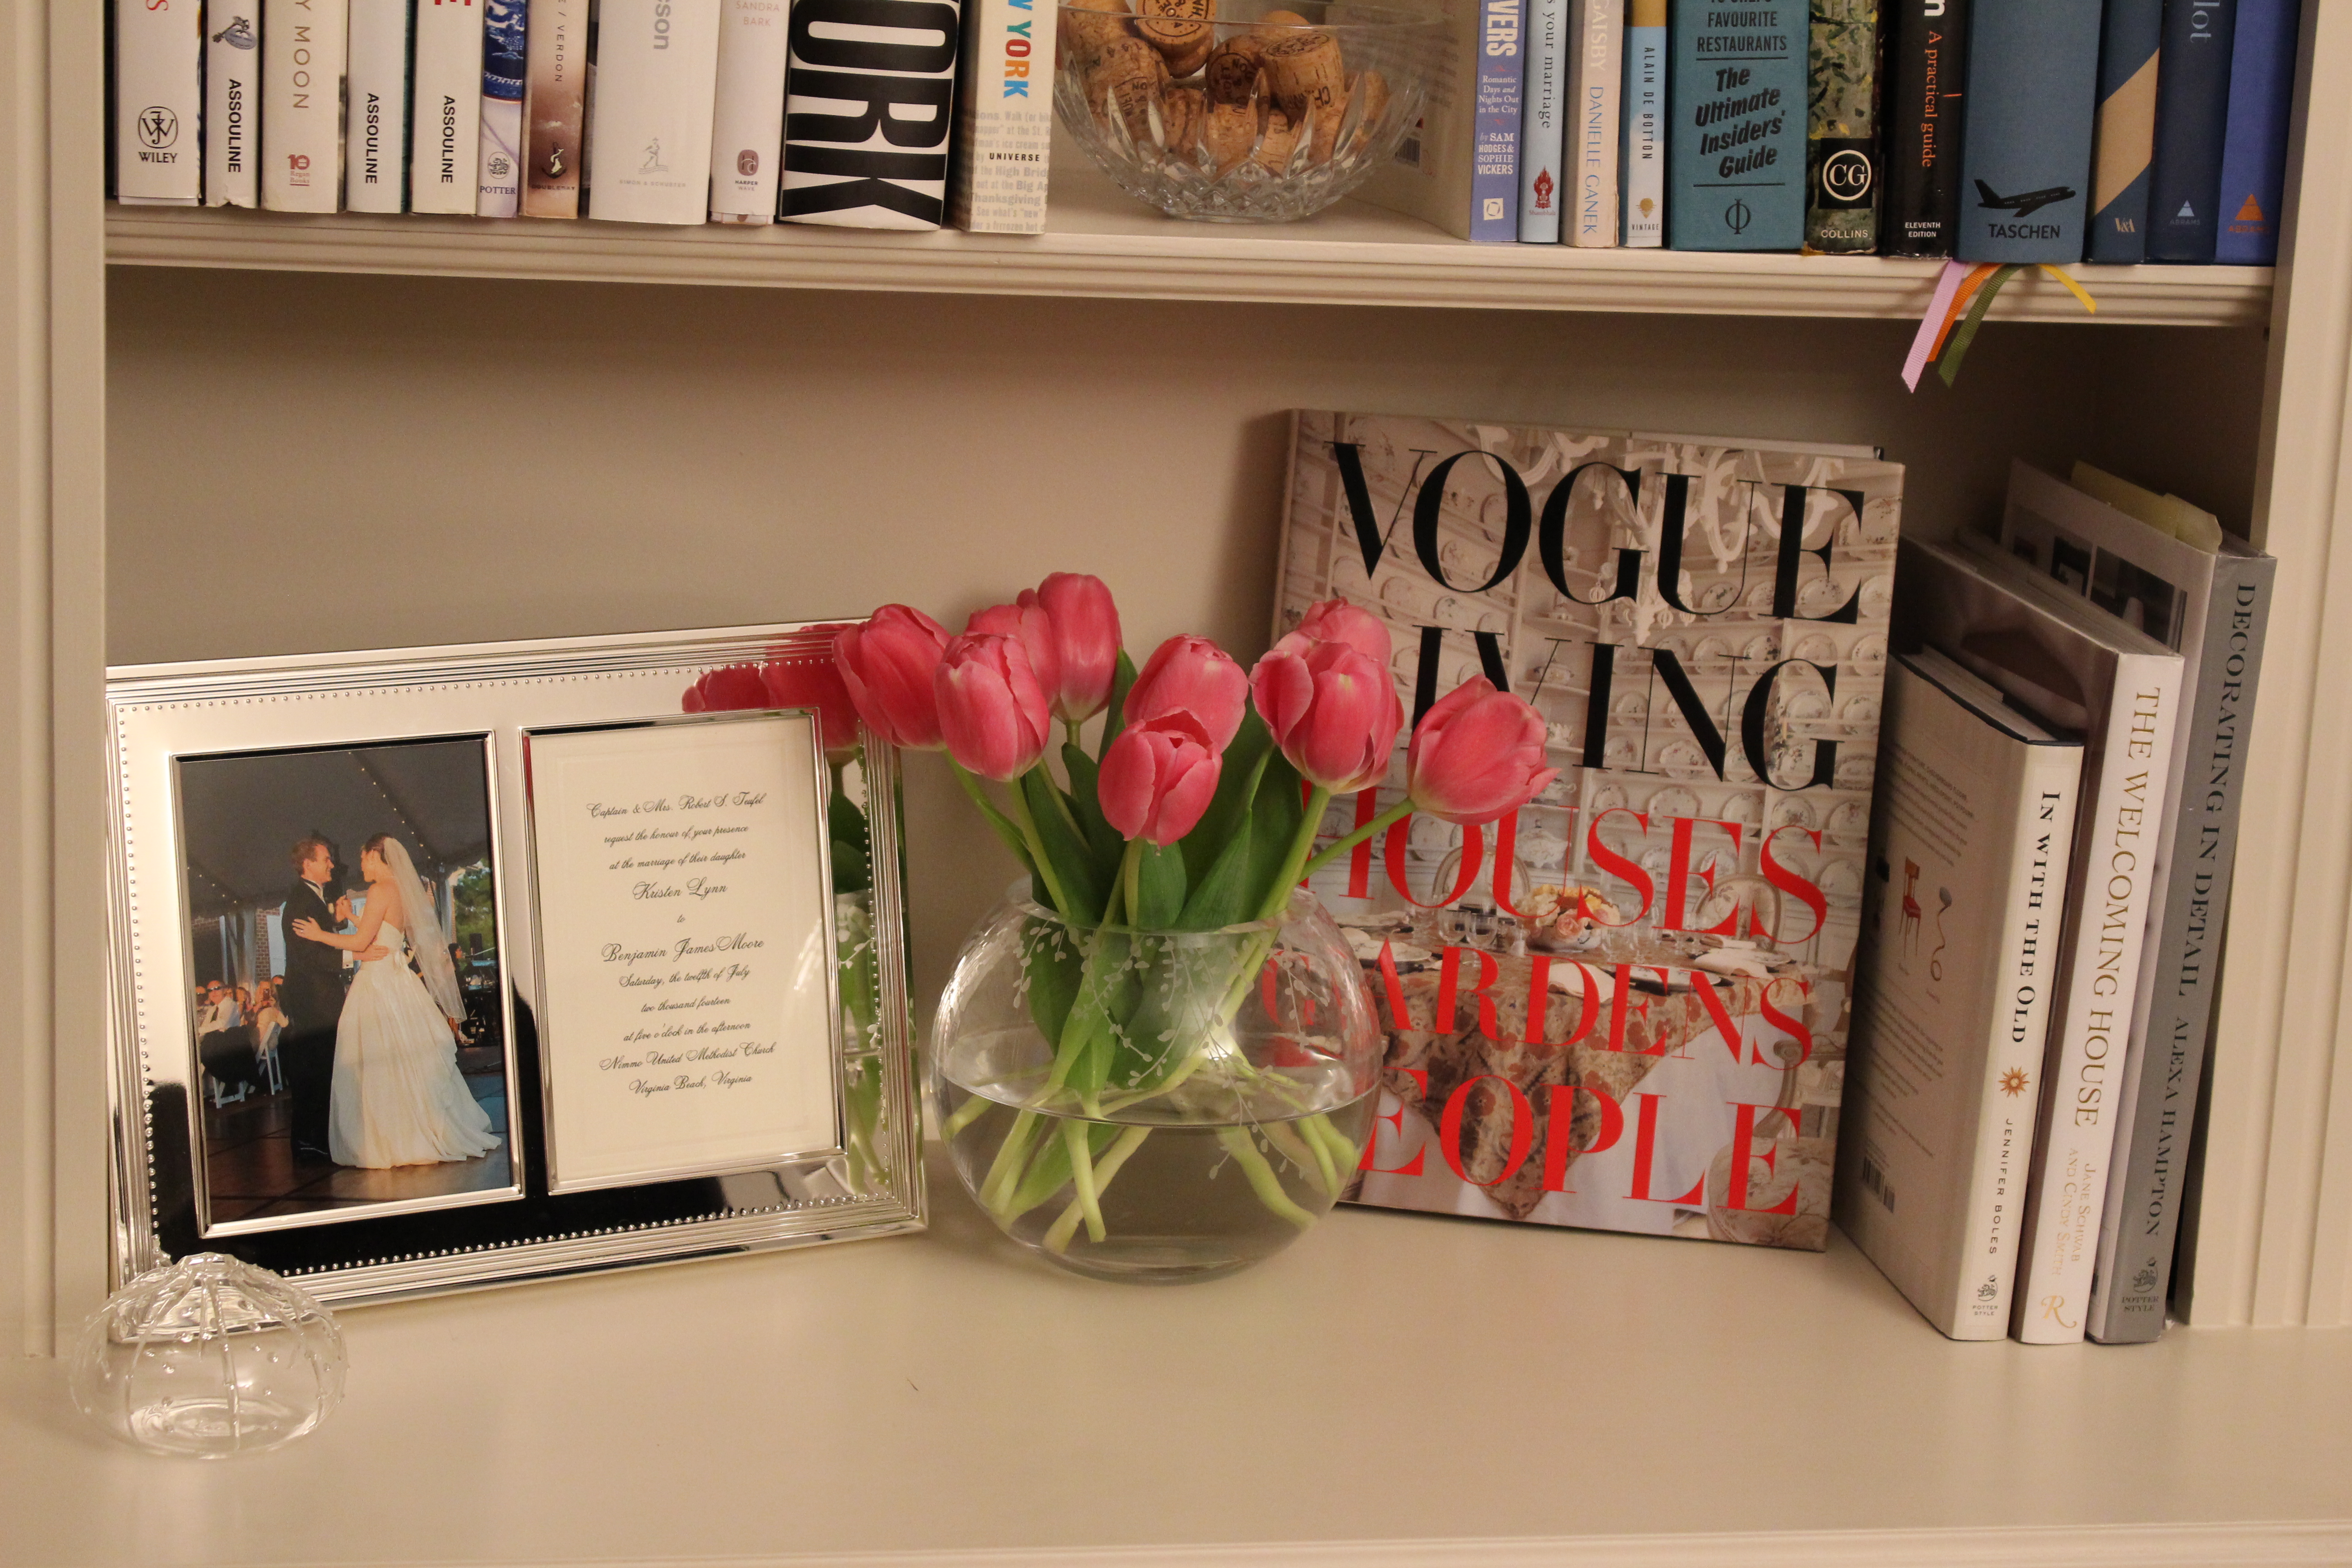
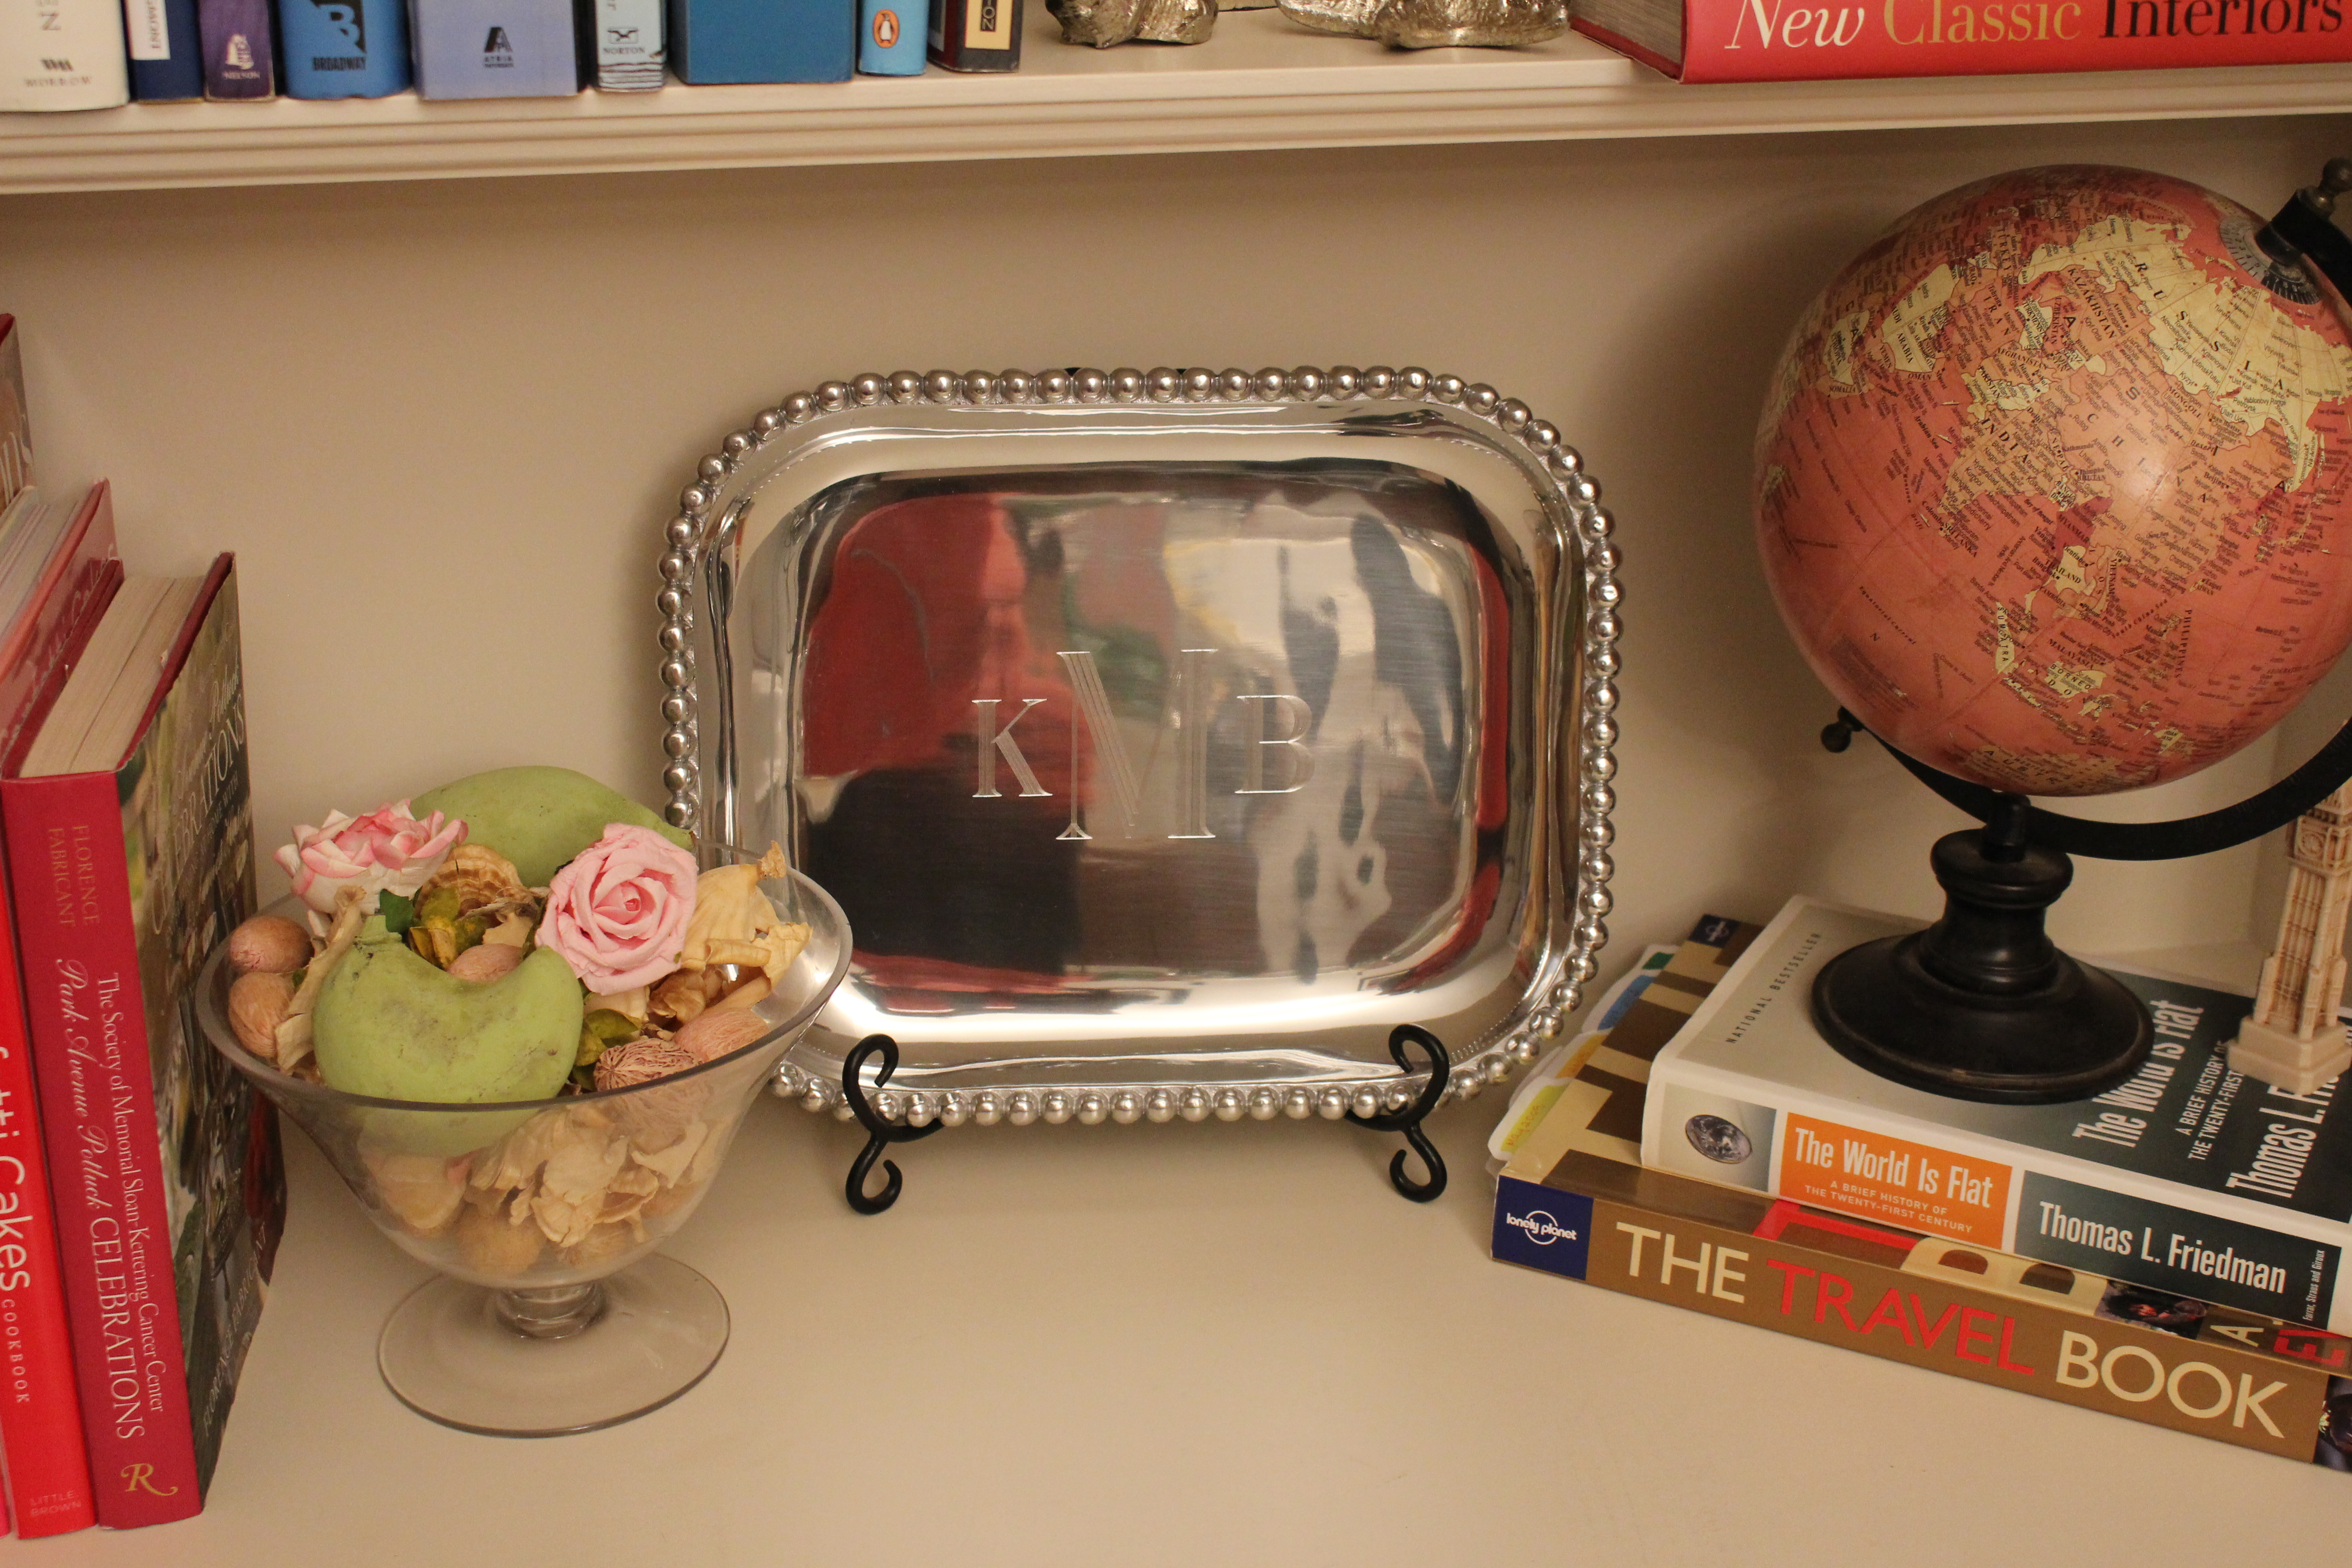
I loved receiving this gift from our wedding — it was so exciting seeing our married monogram, and especially on a Mariposa tray {love this one too}. A lover of all monograms, I just squealed with joy when we opened it. It’s also one of my favorite gifts to give newlyweds! 

IMG_1899

We love both New York (our old home) and London (our new home), so we wanted to display that as well. It’s fun to play around with the symbolism and your guests will ask questions about you from what you display. It’s a true built-in conversation starter.

IMG_1898

I also believe fresh flowers are a necessity and purchase blooms every Saturday (a habit I picked up in New York where two dozen roses were $10 from my corner bodega in the Village). It’s great to have a bit of plant life amongst the books and decor. I use Kate Spade New York’s Gardner Street Rose Bowl to host the whimsy pops of color, and it nestles in nicely.

IMG_1905

The result is a unique, creative area that houses our favorite books and pieces. It’s also a special space for us with momentos we’ve collected, and many of which serve as bookends to keep all of those books in line. I hope you enjoy creating talking points through your bookshelves, too!

Full Bookshelf


FacebookTwitterPinterestGoogle Gmail

Posted by Kristen Leave a Comment
Filed Under: Home Decor, Organize Tagged: Bookshelves, Decorating, Organization

February 7, 2015

Shrimp Tacos for Two

As newlyweds, my husband and I have a lot of at-home date nights. I still like to think of them as entertaining, it’s just for two! We mix it up a lot — I’m lucky my guy is eager to try new things just like me.

I usually look through my cookbooks or Pinterest a few days before, and plan our dinners with enough time to swing by grocery stores. In our neighborhood we have Whole Foods (a total win) and the Kensington Fish Shop, so it’s easy to get everything you need for healthy meals quickly. I usually stock up on staples at Tesco near Notting Hill Gate, or Sainsbury’s on Kensington Church Street. If I’m out and about in Notting Hill, I especially love getting vegetables at Daylesford.

We love Mexican food. I mean, really love Mexican food. We miss good tacos and guacamole and chips and margs all the time (Rosa Mexicano, please open in London!). I recently came across this Chipotle Shrimp Taco recipe [here], and loved making them. I made a few modifications for us — the recipe below. Just add a Corona or margarita, and you’ve got a delicious fiesta for two.

Chipotle Shrimp Tacos

Chipotle Shrimp Tacos

Chipotle Lime Cream (Sauce for the tacos)
1/4 cup sour cream
1/2 tablespoon lime juice
1/2 teaspoon taco seasoning
Salt to taste

Chipotle Shrimp
3/4 lb (340 grams) fresh shrimp or prawns, peeled and deveined
1 teaspoon chili powder
1 teaspoon taco seasoning
1 teaspoon kosher salt
2 teaspoons olive oil
4 taco shells
Avocado
Shredded lettuce
Salsa

For the Chipotle Lime Cream, mix together the sour cream, lime juice and taco seasoning in a small bowl. Season to taste with salt and store in the fridge until ready to use.

For the Chipotle Shrimp, wash, devein and peel your shrimp or prawns. Mix together the dry ingredients (chili powder, taco seasoning and salt) in a bowl. Let shrimp sit marinating for about 30 minutes. Then pour the olive oil in a nonstick skillet on medium-high heat. Add the shrimp and cook until pink, about 5 minutes. In the interim, heat the taco shells in the oven at 350 F (177 C) for just a few minutes till warm.

Once shrimp are cooked, serve with salsa, shredded lettuce, and avocado. They’re spicy and so, so good. Dig in!

Table Setting
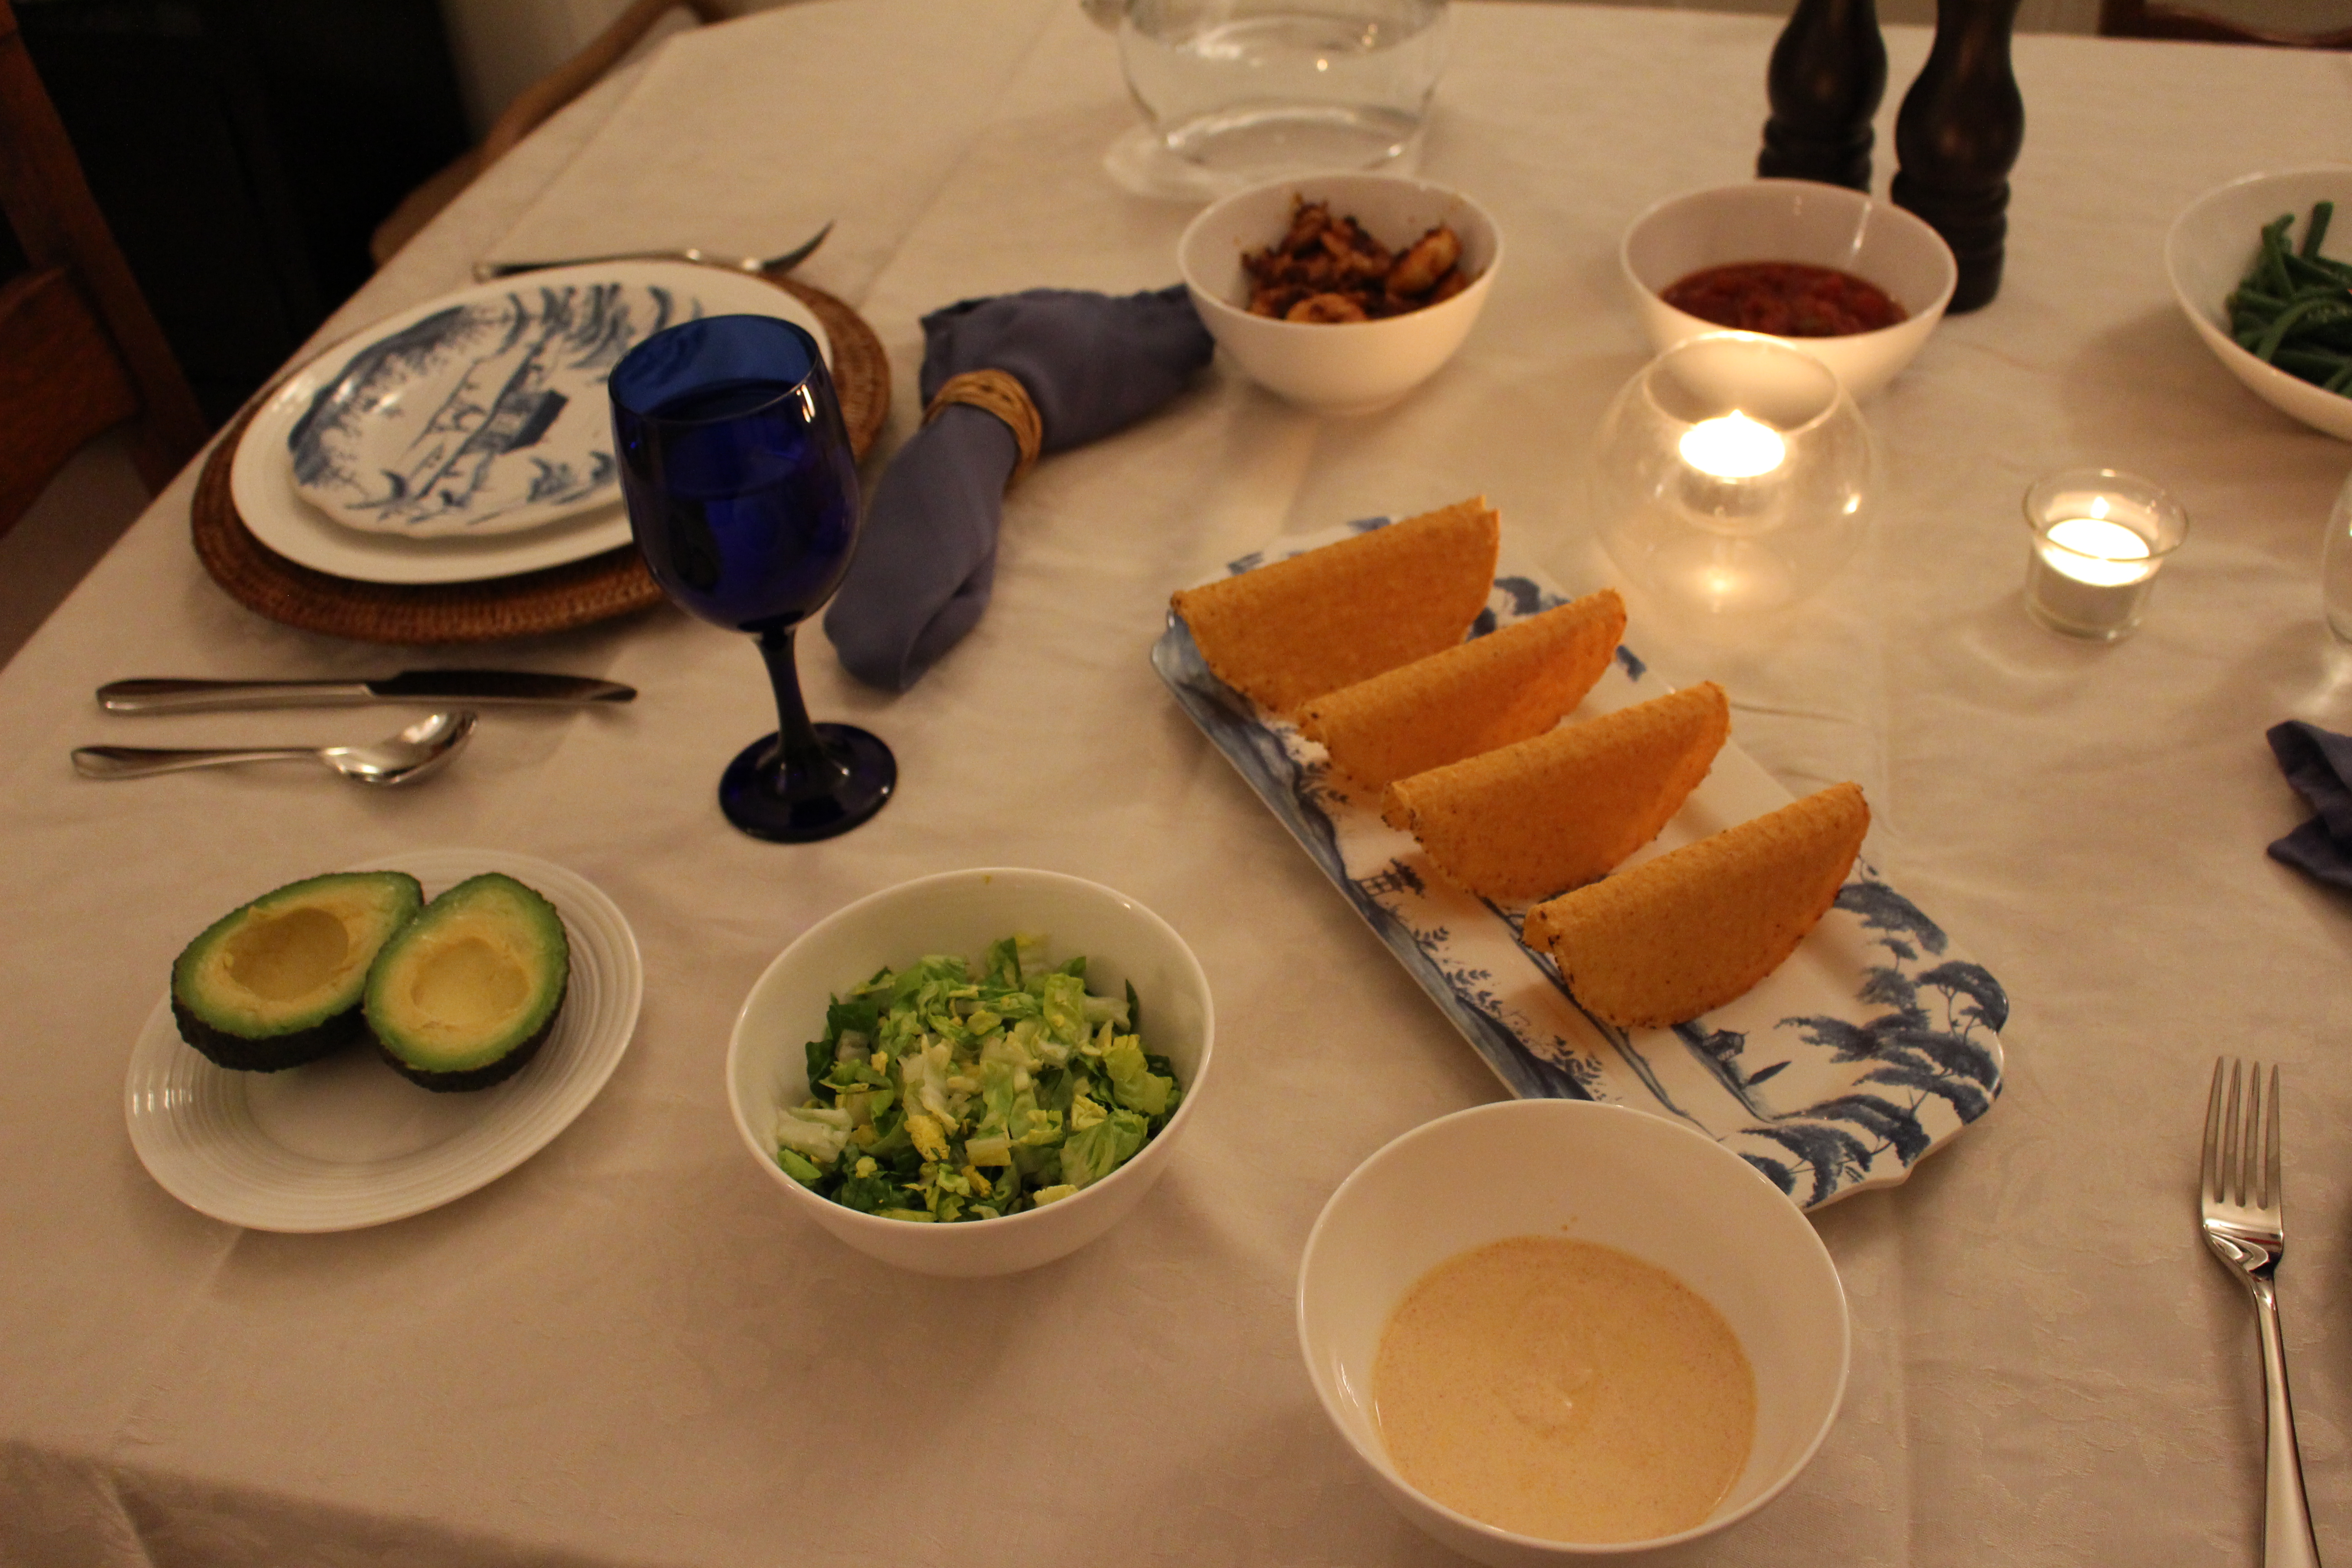
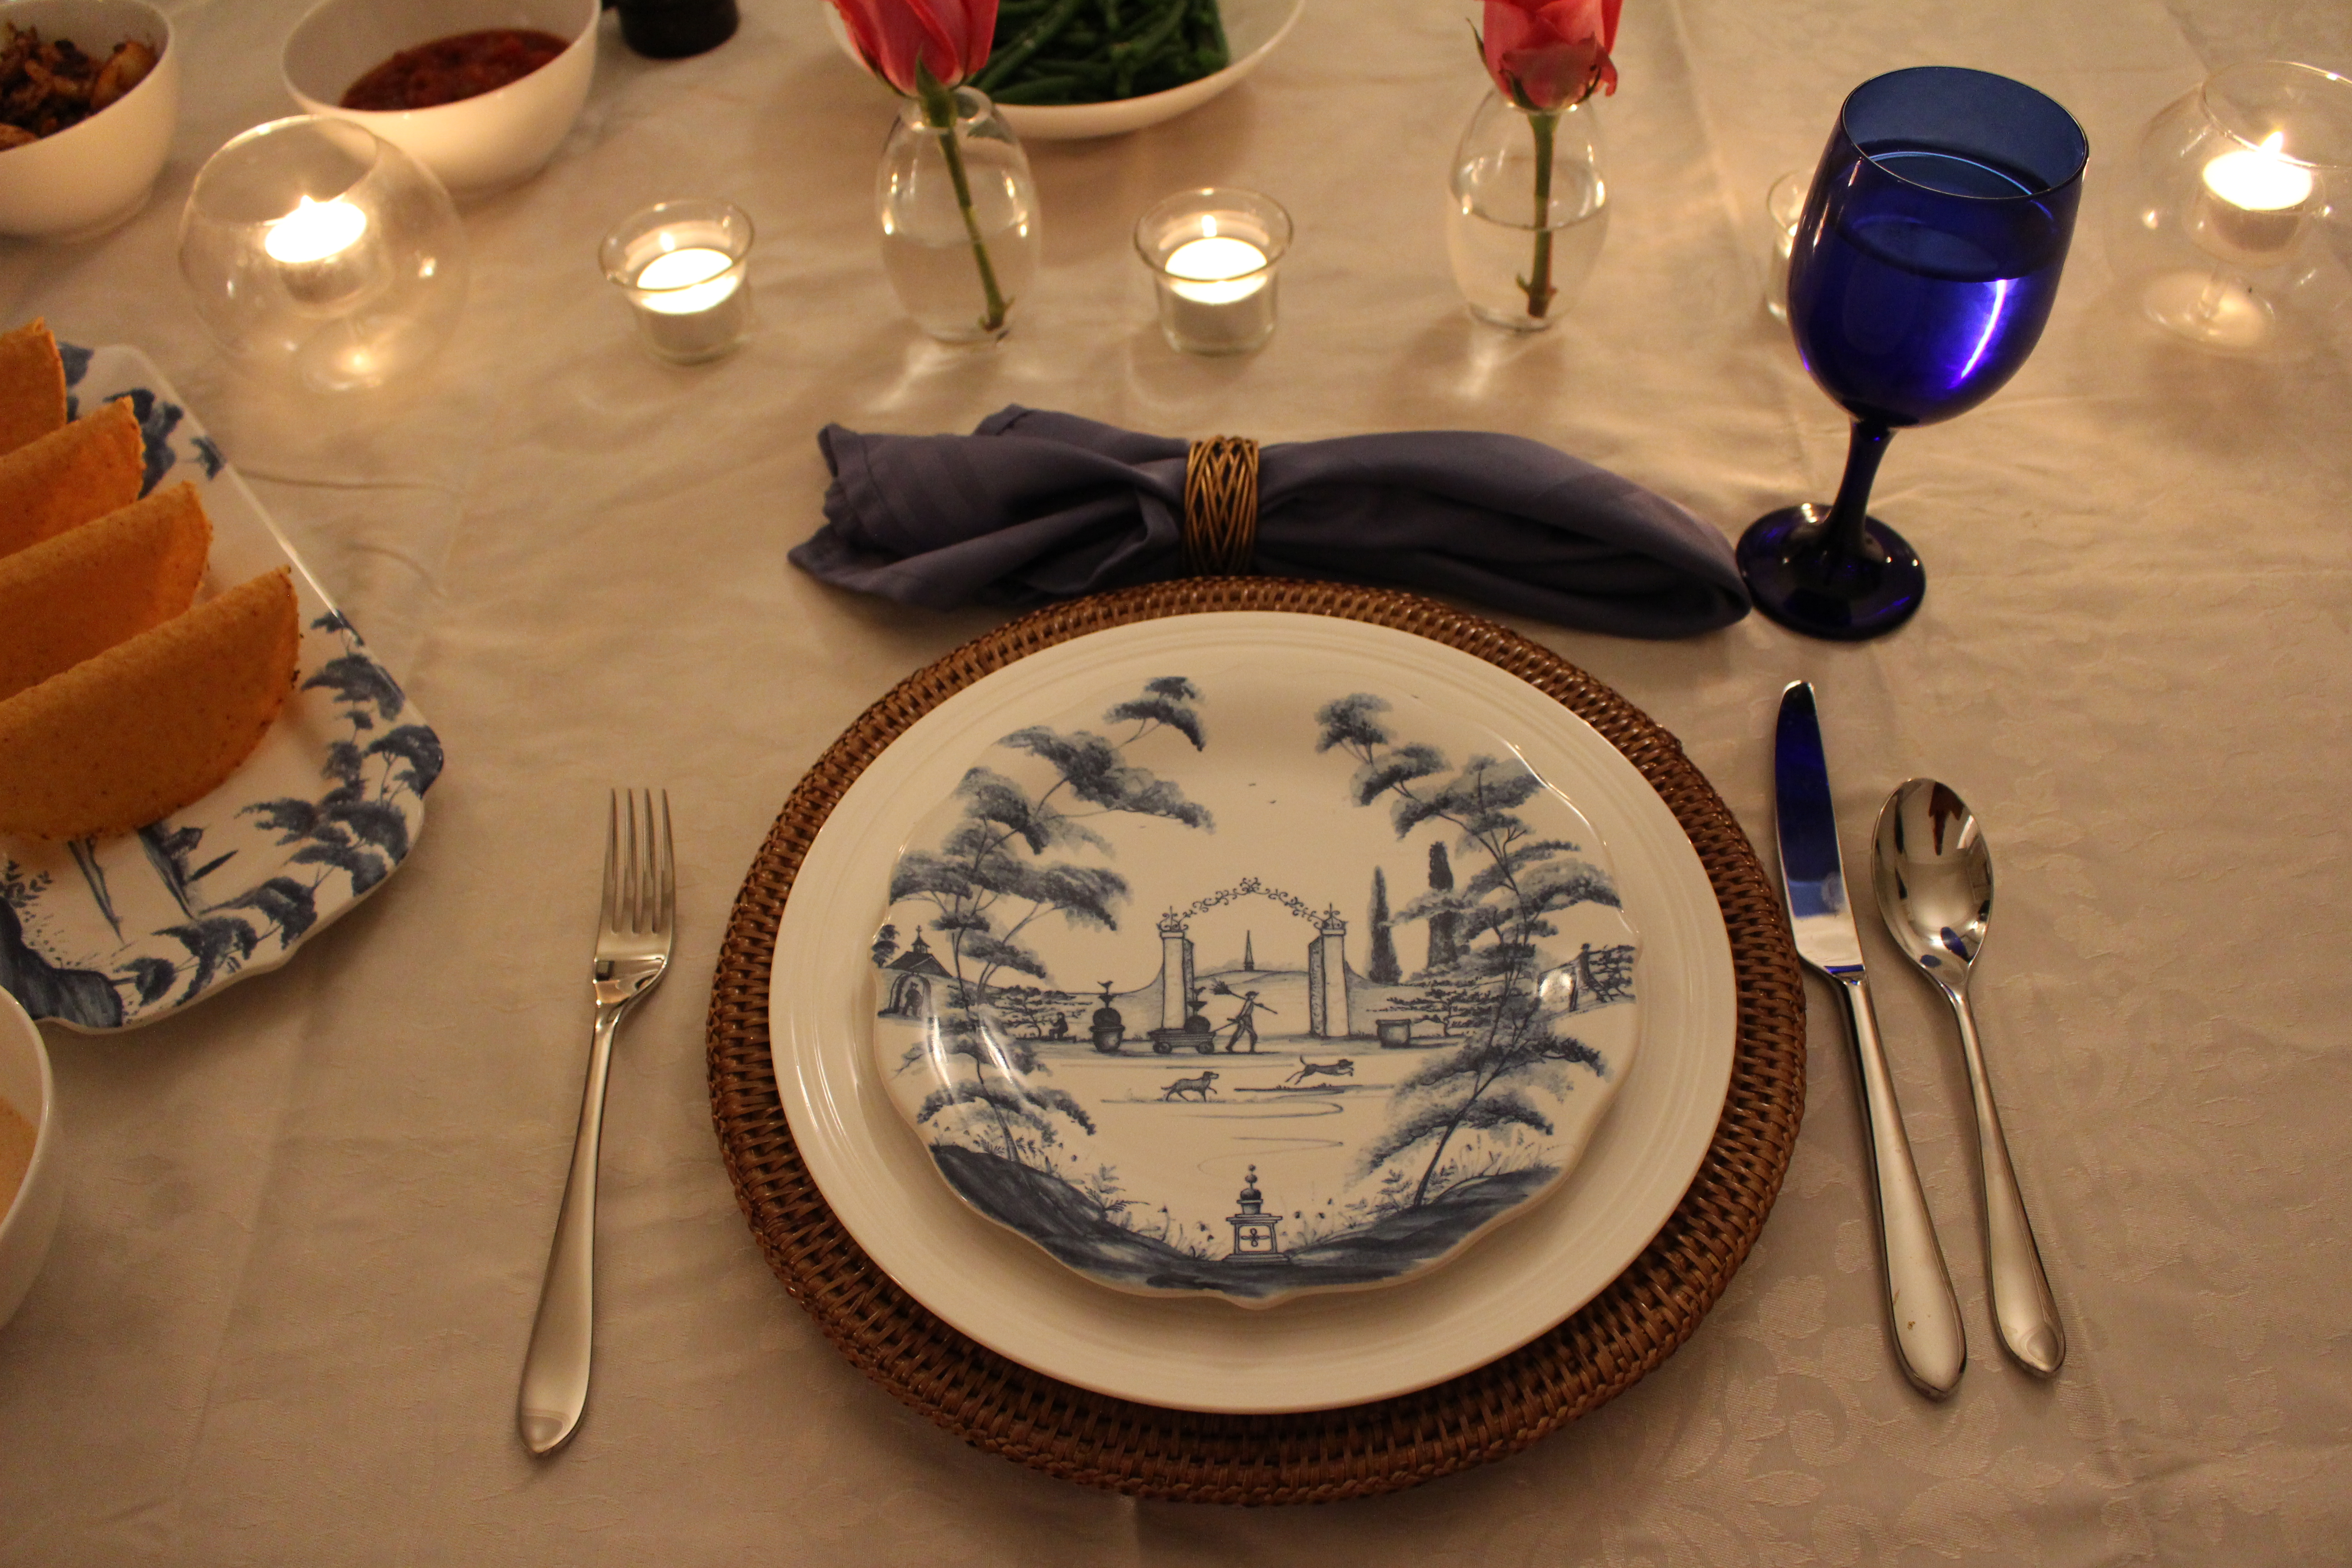
I love fighting off the winter blues with a pretty blue and white table, a classic combination. 

IMG_1916

Mexican Dinner

FacebookTwitterPinterestGoogle Gmail

Posted by Kristen Leave a Comment
Filed Under: Entertaining, Recipes Tagged: Date Night, Food, Mexican, Recipes

February 6, 2015

Sweetly Structured Kitchen Shelves

Do you ever have that “aghhhh” moment when you look into your kitchen cabinets? No? Just me then? Despite my best attempts at keeping our shelves orderly, inevitably it comes falling down (sometimes literally falling on me) by the end of the week.

It’s also immensely scary when we have guests coming in for the weekend, and are running around organizing at the eleventh hour. It’s best for me — and my sanity — if we keep it as together as possible regularly.

During my last fit of reorganization, I realized that most of our cabinet goods fell into one of a few categories. Plus, living in an apartment means we don’t have a huge kitchen space so we are limited in what we keep. I wanted a clean, natural look so I invested in rectangular wicker baskets that fit our space.

Since the baskets aren’t clear, I made some simple labels with cursive and a navy sharpie. I also found a credit card size self-laminating pouch so the labels kept their luster with all the use they’re sure to get with pulling the baskets down. Using a handheld hole punch, I threaded a thicker ivory ribbon through the holes and around the handle. Ta-da! Easy to read, store and keep clean. Even my husband is relieved.

Organized Shelves 1

IMG_1891

IMG_1892

IMG_1890


FacebookTwitterPinterestGoogle Gmail

Posted by Kristen Leave a Comment
Filed Under: DIY, Organize

February 5, 2015

Homemade Almond Biscotti

One of my favorite thank you gifts to give is almond biscotti. They’re easy to make, delicious and a sweet way to show your gratitude. It takes a little more effort than stopping by the store to pick up a bottle of wine (but not too much more!), showing how much you care for your host and the time it took to have you over.

Biscotti can seem intimidating, but it’s a simple cookie to make. The trick to them is baking them twice – first as two logs and then cut into thick cookies. These were one of my mom’s specialties growing up, and now I’ve been baking them in my own home with her recipe. We like to keep them around the flat to have with coffee or as dessert (my husband sometimes sneaks a few when he gets home from a long day at work, too!). Once you’ve baked them, store in a glass container on your kitchen counter, or wrap in clear cello bags tied with a festive ribbon to give away. If you want to get extra fancy, you can dip them in chocolate and even add sprinkles – perfect for holidays (Valentine’s Day is right around the corner!).

Almond Biscotti
2 cups all-purpose flour
3/4 cup sugar
2 teaspoons baking powder
1/2 teaspoon cinnamon
1/4 teaspoon salt
1 1/2 cups whole almonds
3 large eggs
2 teaspoons pure vanilla extract

Preheat your oven to 350 F/177 C. Line a baking sheet with parchment paper and set aside. Put the flour, sugar, baking powder, cinnamon and salt in a large mixing bowl (to make it quicker, I just put it in the KitchenAid mixer — I’m always looking for ways to cut down on time). Toss in the almonds and stir.

In a separate bowl, mix together your eggs and vanilla, then pour into the dry mixture. (Your dough may be slightly dry right now, but it will come together once you knead it.) Lightly flour a surface, and put the dough on top. Knead it together and separate into two logs, about a foot in length.

IMG_1140

Bake the logs for 30 minutes, or until slightly rises and are firm. Put the logs, parchment paper and all, onto a cooling rack for about 30 minutes until cool.

IMG_1141

In the interim, reline the baking sheet with new parchment paper. With a serrated knife, cut the logs into 1/2″ cookies diagonally. Put the cut cookies down onto the pan to bake the inside. Place in the oven for 10-15 minutes until golden brown. Place back onto the cooling rack, let sit for a few minutes (if you can wait!) and enjoy.

IMG_1149

IMG_1150

FacebookTwitterPinterestGoogle Gmail

Posted by Kristen Leave a Comment
Filed Under: Recipes Tagged: Baking, Gifts, Recipe

February 4, 2015

A Warm Welcome

Welcome to Modern Pineapple! For quite awhile, I’ve had this idea rolling around in my head of sharing ideas on elements of elegant entertaining and hospitality. It’s everywhere, from how we treat ourselves and our homes every day, to hosting dinner parties and houseguests, to the experiences we have as guests in hotels and new places.

Being raised in southern Virginia, pineapple motifs and its symbolism were omnipresent. In colonial times, pineapples were a rarity from the Caribbean islands and brought back by speedy ships to coastal towns to go to the local confectionary shops. A hostess’s ability to have a pineapple showed her status, and that she spared no expense to ensure her guests’ dining pleasure.

These days, we’re not boasting about our abilities to get fruit for our centerpieces (well, maybe sometimes we do), but the pineapple still represents welcome, good cheer, warmth and affection for gatherings. I’m excited to share what inspires me in entertaining and hospitality — which is what I’m calling my ‘modern pineapple’ — and hope it inspires you too.

Ps - How perfect is this welcome mat from Houzz? Currently coveting it for our apartment.

Ps – How perfect is this welcome mat from Houzz? Currently coveting it for our front door.

FacebookTwitterPinterestGoogle Gmail

Posted by Kristen Leave a Comment
Filed Under: Entertaining Tagged: Decor, Welcome

  • « Previous Page
  • 1
  • …
  • 7
  • 8
  • 9

Recent Posts

  • Caffeinating at Kensington Coffee
  • The Golden City
  • Baking Banana Bread
  • And A Happy New Year!
  • Wild at Heart

Take 15% Off First Order with Shopbop App, Use Code APP15

Shopbop.com
JUST ARRIVED
  • Shop Lele Sadoughi Denim Imitation Pearl & Cr...

    View
  • Shop Rag & Bone Lenny Hat

    View
  • Shop LOVESHACKFANCY Vienna Tee

    View
  • Truepur Sl Tights at Shopbop

    View
  • Buy Port Mini Bag from Vasic

    View
  • Buy Now at Shopbop

    View
< >
SHOP TUNICS
  • Buy Now at Shopbop

    View
  • Shop C&C California Tie Dye Dolman Tunic

    View
  • LNA Asymmetrical Tunic

    View
< >
FEATURED

+1

Get this widget 

Let’s Get Social

Twitter

Pinterest

Instagram

Say Hello

Copyright

Copyright Modern Pineapple 2015

Theme by 17th Avenue · Powered by WordPress & Genesis

  • -
  • +